
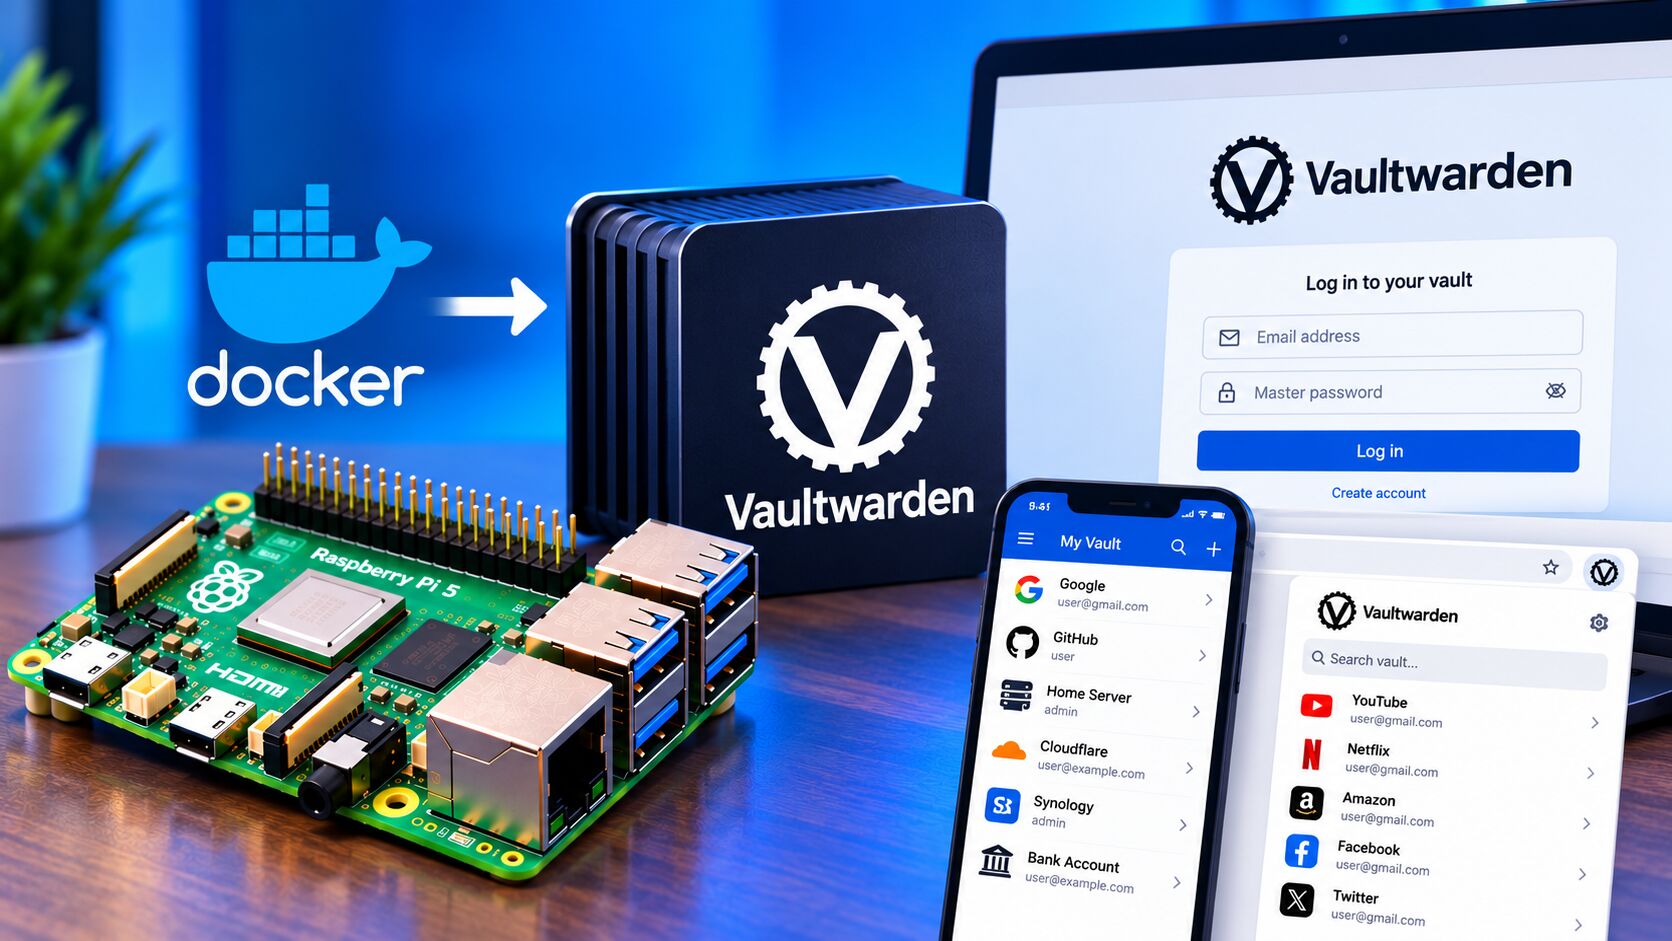
A Raspberry Pi can do much more than run simple GPIO projects. With Docker, it can become a lightweight home server for applications such as Pi-hole, Jellyfin, Nextcloud, Tailscale and a self-hosted password manager.
Vaultwarden is an unofficial Bitwarden-compatible server written in Rust. It is designed to be lightweight and can run very well in a Docker container, making it particularly interesting for a Raspberry Pi home server. Vaultwarden supports features including organizations, two-factor authentication, FIDO2/WebAuthn, YubiKey, emergency access and an integrated web vault.
In this guide, we’ll build a Vaultwarden password manager on a Raspberry Pi using Docker, configure HTTPS with a reverse proxy, create the first account, disable public registration and establish a backup strategy.
Security note: A password manager stores extremely sensitive information. Do not expose an unprotected Vaultwarden installation directly to the Internet. Use HTTPS, strong authentication, restricted administration access and regular backups.
What Is Vaultwarden?
Vaultwarden is an unofficial Bitwarden-compatible server implementation written in Rust.
It provides a server-side backend and web vault that can be used with compatible Bitwarden clients. The project is separate from the official Bitwarden server and is not associated with Bitwarden, Inc.
One of its main advantages for a Raspberry Pi is its relatively lightweight architecture.
Instead of deploying a large collection of services, you can run Vaultwarden as a Docker container and store its persistent data in a directory on your Raspberry Pi.
A typical setup looks like this:
Internet
    │
    ▼
HTTPS / Domain
    │
    ▼
Reverse Proxy
    │
    ▼
Vaultwarden
    │
    ▼
Persistent /data
    │
    ├── Database
    ├── Attachments
    ├── Configuration
    └── Other Vaultwarden data
The official Vaultwarden project recommends using its container images and recommends placing Vaultwarden behind a reverse proxy. The web vault requires HTTPS in normal Internet-facing use because it relies on browser Web Crypto APIs.
Why Run Vaultwarden on a Raspberry Pi?
A Raspberry Pi makes sense for a personal password manager because the workload is relatively light compared with applications such as video transcoding or large databases.
A Raspberry Pi 4 or Raspberry Pi 5 can provide:
- Low power consumption
- Quiet operation
- Docker support
- Always-on availability
- Local storage
- Gigabit networking
- Easy backup
- Remote access through Tailscale or another VPN
A Raspberry Pi 5 is particularly well suited if you’re building a larger home-server environment.
You can run Vaultwarden alongside other services such as:
- Docker
- Portainer
- Tailscale
- Pi-hole
- Nextcloud
- Uptime Kuma
- Nginx Proxy Manager
- Caddy
For a larger deployment, however, consider using an SSD rather than relying exclusively on a microSD card.
What You Need
For this tutorial, you’ll need:
Hardware
- Raspberry Pi 4 or Raspberry Pi 5
- 64-bit Raspberry Pi OS
- Reliable power supply
- Ethernet connection recommended
- microSD card or SSD
- Optional NVMe storage
Software
- Docker
- Docker Compose
- Vaultwarden
- Reverse proxy
- HTTPS certificate
- Domain or subdomain
You can use a hostname such as:
vault.example.comYour DNS record should point that hostname to the server or to the service that will handle your remote connection.
Raspberry Pi Storage Recommendation
A password manager doesn’t normally require a huge amount of storage.
However, reliability is more important than capacity.
For a basic installation, you could use:
- 32GB microSD — technically sufficient for the operating system and application
- 64GB microSD — comfortable for a basic server
- 128GB microSD — plenty of room for a Raspberry Pi home server
- USB SSD — preferred for a long-running server
- NVMe SSD — excellent option on Raspberry Pi 5
Because Vaultwarden data should be backed up regularly, don’t confuse the size of the storage device with the amount of backup storage you need.
Install Docker on Raspberry Pi
If Docker is not already installed, follow our Docker Containers for Raspberry Pi guide.
After installation, verify Docker:
docker --versionThen:
docker compose versionYou should see the installed Docker Engine and Compose versions.
Test Docker with:
sudo docker run hello-worldCreate a Vaultwarden Directory
Create a dedicated directory for the installation:
sudo mkdir -p /opt/vaultwardenThen:
cd /opt/vaultwardenWe’ll keep the Docker Compose configuration and persistent Vaultwarden data organized here.
Create the data directory:
sudo mkdir -p /opt/vaultwarden/vw-dataThe official Docker configuration uses a persistent /data directory because this is where Vaultwarden stores its persistent information.
Create the Docker Compose File
Create:
nano compose.yamlAdd:
services:
  vaultwarden:
    image: vaultwarden/server:latest
    container_name: vaultwarden
    restart: unless-stopped

    environment:
      DOMAIN: "https://vault.example.com"

    volumes:
      - ./vw-data:/data

    ports:
      - "127.0.0.1:8000:80"
Replace:
https://vault.example.comwith your actual domain.
The official Vaultwarden example uses the same basic architecture: the container listens internally while port 8000 is bound only to localhost.
Why Bind Vaultwarden to 127.0.0.1?
Notice this:
ports:
  - "127.0.0.1:8000:80"
rather than:
ports:
  - "8000:80"
The first version makes the service available only on the Raspberry Pi itself.
That means users on your network cannot directly connect to:
http://raspberry-pi-ip:8000Instead, the reverse proxy will communicate with Vaultwarden locally.
This gives you a cleaner architecture:
Internet
   ↓
HTTPS :443
   ↓
Reverse Proxy
   ↓
127.0.0.1:8000
   ↓
Vaultwarden
Vaultwarden’s own documentation recommends using a reverse proxy.
Start Vaultwarden
Start the container:
docker compose up -dCheck the container:
docker psYou should see:
vaultwardenCheck the logs:
docker logs vaultwardenOr follow them:
docker logs -f vaultwardenTo stop following the logs, press:
Ctrl+CTest Vaultwarden Locally
Before configuring the reverse proxy, verify that Vaultwarden responds locally.
Run:
curl http://127.0.0.1:8000You should receive HTML from the Vaultwarden web vault.
You can also test from a browser on the Raspberry Pi:
http://127.0.0.1:8000Don’t use this as your production configuration.
The web vault is intended to operate over HTTPS in normal deployment.
Configure a Domain
A dedicated subdomain makes the installation easier to manage.
For example:
vault.example.comCreate an A record:
vault.example.com → YOUR_PUBLIC_IPIf your public IP changes, you can use a dynamic DNS service.
For example:
vault.example.com
       ↓
Public IP
       ↓
Router
       ↓
Raspberry Pi
You will normally need to forward:
TCP 80
TCP 443
to the reverse proxy running on your Raspberry Pi.
However, if you’re using a VPN or Cloudflare Tunnel, the networking requirements can be different.
HTTPS Is Mandatory for a Public Vaultwarden Server
This is one of the most important parts of the installation.
Don’t expose your password manager over plain HTTP.
Vaultwarden’s documentation explicitly states that its web vault requires HTTPS and a secure browser context for the Web Crypto API.
Your final URL should look like:
https://vault.example.comnot:
http://vault.example.comUse a Reverse Proxy
Vaultwarden recommends using a reverse proxy.
Popular choices include:
- Caddy
- Nginx
- Nginx Proxy Manager
- Traefik
For a Raspberry Pi, Caddy is particularly convenient because it can automatically manage HTTPS certificates.
The architecture becomes:
                    Internet
                       │
                       ▼
                vault.example.com
                       │
                       ▼
                  Caddy :443
                       │
                       ▼
             127.0.0.1:8000
                       │
                       ▼
                  Vaultwarden
Caddy Reverse Proxy
If you’re already using a reverse proxy such as Nginx Proxy Manager, you can keep using it.
If you want a simple Caddy configuration, a basic Caddyfile can look like:
vault.example.com {
    reverse_proxy 127.0.0.1:8000
}
Caddy can obtain and renew the TLS certificate when DNS and network configuration are correct.
Vaultwarden’s project specifically recommends a reverse proxy and provides proxy examples in its documentation.
Configure the DOMAIN Variable
Vaultwarden should know its public URL.
In compose.yaml:
environment:
  DOMAIN: "https://vault.example.com"
Don’t put the internal address here:
http://127.0.0.1:8000Use the public HTTPS URL:
https://vault.example.comThen recreate the container:
docker compose up -dCreate Your First Vaultwarden Account
Once HTTPS is working, open:
https://vault.example.comYou should see the Vaultwarden web vault.
Select:
Create account
Enter:
- Name
- Master password
The master password is particularly important.
It should be:
- Long
- Unique
- Difficult to guess
- Never reused
- Stored securely
Do not use the same password as your email account or Raspberry Pi login.
Choose a Strong Master Password
Your master password protects access to your password vault.
A long passphrase is generally easier to remember than a short, complicated password.
For example, don’t use:
RaspberryPi123!Instead, create a unique long passphrase containing multiple unrelated words and additional characters.
Don’t copy an example password from this article.
Enable Two-Factor Authentication
Vaultwarden supports multiple authentication mechanisms, including:
- Authenticator-based 2FA
- Email-based authentication
- FIDO2/WebAuthn
- YubiKey
- Duo
These capabilities are listed by the Vaultwarden project.
After creating your account, open your account’s security settings and configure an appropriate second factor.
For a personal installation, an authenticator application or hardware security key can provide an additional layer of protection.
Disable New User Registration
This is one of the most important configuration changes after creating your account.
If registration remains open, anyone who can reach your Vaultwarden server may be able to create an account, depending on your configuration.
Set:
SIGNUPS_ALLOWED=falseFor example:
environment:
  DOMAIN: "https://vault.example.com"
  SIGNUPS_ALLOWED: "false"
Then recreate the container:
docker compose up -dVaultwarden provides the SIGNUPS_ALLOWED configuration specifically for controlling new registrations.
What If You Need to Add Another User?
You don’t necessarily need to leave public registration enabled.
Vaultwarden’s administrative functionality can be used to manage users and invitations.
This is preferable to leaving registration permanently open.
For a family or small household, you can create accounts as needed and then keep public registration disabled.
Enable the Vaultwarden Admin Panel
Vaultwarden includes an administrative interface.
It is available at:
https://vault.example.com/adminHowever, you should not enable it casually.
The project supports an ADMIN_TOKEN environment variable for protecting the admin interface. The current configuration template recommends using an Argon2 PHC string rather than a plain-text token.
Generate an Admin Token
Vaultwarden provides a built-in hash command.
With the container running, you can generate a hash with:
docker exec -it vaultwarden /vaultwarden hashFollow the prompts.
Vaultwarden’s current configuration documentation recommends using the built-in hashing functionality for the admin token.
You will receive an Argon2-style value similar to:
$argon2id$v=19$...Don’t use that example as your actual token.
Add ADMIN_TOKEN
Add the generated token to your configuration.
For Docker Compose, be careful with the $ characters in an Argon2 hash because Compose performs variable interpolation.
The Vaultwarden configuration template specifically warns about this and recommends escaping $ characters appropriately when using Compose.
Your configuration will look conceptually like:
environment:
  DOMAIN: "https://vault.example.com"
  SIGNUPS_ALLOWED: "false"
  ADMIN_TOKEN: "$$argon2id$$v=19$$..."
Use the exact hash generated by your installation.
Then:
docker compose up -dProtect the Admin Interface
Don’t treat the /admin page as an ordinary public webpage.
Additional protections can include:
- HTTPS
- Strong admin token
- Reverse-proxy access restrictions
- VPN access
- IP allowlisting
- Firewall rules
- Tailscale
- Cloudflare Access
If you already use Tailscale on your Raspberry Pi, you can create a particularly useful private administration path.
See our guide:
How to Install Tailscale on Raspberry Pi
Vaultwarden With Tailscale
For a home server, Tailscale can reduce the amount of the service that needs to be exposed publicly.
Instead of opening Vaultwarden directly to the Internet, you can make it accessible through your private Tailscale network.
For example:
Laptop
   │
   │ Tailscale
   ▼
Raspberry Pi
   │
   ▼
Vaultwarden
This can be particularly useful for administrative access.
However, your client configuration and HTTPS setup still need to be designed correctly. Don’t assume that putting a service behind a VPN automatically solves every authentication or TLS problem.
Back Up Vaultwarden
Do not skip this step.
A password manager without backups creates a dangerous single point of failure.
The Vaultwarden project itself recommends performing regular backups of your files and database because data loss can include passwords and attachments.
Your persistent data is stored in:
/opt/vaultwarden/vw-data/At minimum, this directory should be included in your backup strategy.
Stop Vaultwarden Before a Simple File Backup
For a simple local backup, you can stop the container:
cd /opt/vaultwarden

docker compose down
Create an archive:
sudo tar -czf vaultwarden-backup.tar.gz vw-data/Then restart:
docker compose up -dStore the backup somewhere other than the Raspberry Pi.
For example:
Raspberry Pi
     │
     ├── Vaultwarden
     │
     └── Backup
           │
           ▼
       NAS / USB SSD / Cloud
Don’t Keep Your Only Backup on the Raspberry Pi
If the Raspberry Pi’s storage fails, you could lose:
- Vault database
- Attachments
- Configuration
- Users
- Password vault data
Therefore:
The backup should live on another device.
Good destinations include:
- NAS
- Another server
- External SSD
- Encrypted cloud storage
- Remote backup server
The official Vaultwarden documentation has a dedicated backup guide, and the project continues to update its backup documentation.
Automate Backups
For a more reliable setup, create a scheduled backup.
For example, you could create:
/opt/vaultwarden/backup.shA simple approach might archive the persistent data:
#!/bin/bash

BACKUP_DIR="/opt/backups/vaultwarden"
DATA_DIR="/opt/vaultwarden/vw-data"

mkdir -p "$BACKUP_DIR"

tar -czf "$BACKUP_DIR/vaultwarden-$(date +%Y-%m-%d).tar.gz" "$DATA_DIR"
Make it executable:
chmod +x /opt/vaultwarden/backup.shYou can then schedule it using cron or another backup system.
For a production-quality setup, also implement:
- Retention
- Off-site copies
- Encryption
- Backup verification
- Restore testing
A backup that has never been restored is not fully proven.
Test Your Backup
Periodically verify that you can actually restore the data.
For example:
Backup
  ↓
Test Raspberry Pi / temporary server
  ↓
Restore Vaultwarden
  ↓
Verify login
  ↓
Verify vault
  ↓
Verify attachments
Don’t wait until your production Raspberry Pi fails to discover that your backup is incomplete.
Updating Vaultwarden
Because Vaultwarden is handling passwords, keeping it updated is important.
Before updating:
- Create a backup.
- Check the current container.
- Pull the new image.
- Recreate the container.
- Check the logs.
- Test login.
For Docker Compose:
cd /opt/vaultwardenPull the new image:
docker compose pullRecreate the container:
docker compose up -dCheck:
docker psThen:
docker logs vaultwardenThe official project recommends using its published container images.
Pinning a Version vs Using latest
The simple configuration uses:
image: vaultwarden/server:latestThis makes updates convenient.
However, some administrators prefer pinning a specific version so upgrades are deliberate and reproducible.
For example:
image: vaultwarden/server:<VERSION>If you pin versions, remember that you must monitor releases and update the image manually.
For a password manager, controlled updates can be useful because you can:
- Back up.
- Review the release.
- Update.
- Test.
- Roll back if necessary.
Check Vaultwarden Logs
When troubleshooting, start with:
docker logs vaultwardenFollow the logs live:
docker logs -f vaultwardenYou can also check the container:
docker inspect vaultwardenAnd:
docker psIf the container repeatedly restarts, check:
docker ps -afollowed by:
docker logs vaultwardenCommon Vaultwarden Problems
Vaultwarden Doesn’t Open
Check:
docker psIf the container isn’t running:
docker logs vaultwardenAlso verify:
curl http://127.0.0.1:8000HTTPS Doesn’t Work
Check:
- DNS
- Router port forwarding
- Reverse proxy
- Firewall
- TLS certificate
- Domain name
- Caddy/Nginx configuration
Your domain must resolve to the correct endpoint.
Login Doesn’t Work
Check:
docker logs vaultwardenAlso verify that the client is connecting to the correct Vaultwarden server URL.
Registration Is Disabled
If you set:
SIGNUPS_ALLOWED=falsenew public registrations are blocked.
That’s intentional.
If you need another account, use the appropriate invitation/administration workflow rather than leaving public registration enabled indefinitely.
Vaultwarden and Docker Volumes
One advantage of Docker is that the application and its persistent data are separated.
Your container can be replaced without necessarily losing the vault because the data lives outside the container:
Docker container
       │
       ▼
/data
       │
       ▼
vw-data/
This is why you should never treat the container itself as the backup.
The important persistent data is the /data directory.
The official Docker example specifically mounts a host directory to /data for persistent storage.
Can Vaultwarden Run on Raspberry Pi 5?
Yes.
The official Vaultwarden project publishes container images for multiple architectures, including:
- amd64
- arm64
- armv7
- armv6
The project’s Docker build documentation lists these architectures.
This makes Vaultwarden particularly suitable for ARM-based Raspberry Pi systems.
For a new Raspberry Pi 5 server, a 64-bit Raspberry Pi OS installation is the sensible choice for a modern Docker environment.
Raspberry Pi 4 vs Raspberry Pi 5
Both can run Vaultwarden.
Raspberry Pi 4
Suitable for:
- Personal password manager
- Small family installation
- Lightweight Docker server
- Tailscale
- Pi-hole
- Other lightweight services
Raspberry Pi 5
Provides more processing headroom for running Vaultwarden alongside additional services.
A Pi 5 is particularly attractive if your server also runs:
- Docker
- Nextcloud
- Jellyfin
- Portainer
- Pi-hole
- Uptime Kuma
- Other containers
Vaultwarden itself doesn’t require the performance of a Pi 5, so the advantage comes mainly from the rest of the home-server workload.
Should Vaultwarden Use a microSD Card or SSD?
Vaultwarden isn’t an extremely demanding application, but your storage strategy still matters.
For a simple installation:
Raspberry Pi
   ↓
microSD
   ↓
Vaultwarden
can work.
For a more serious home server:
Raspberry Pi 5
      ↓
NVMe SSD
      ↓
Docker
      ↓
Vaultwarden
is a more attractive architecture.
You can also use a USB SSD.
See:
Best USB SSDs for Raspberry Pi and Single Board Computers
and:
Best NVMe HATs for Raspberry Pi 5.
Security Checklist
Before considering your Vaultwarden installation complete, verify the following.
Server
- Raspberry Pi is updated
- Docker is updated
- Vaultwarden is updated
- SSH is secured
- Firewall is configured
- Unnecessary ports are closed
Vaultwarden
- HTTPS is enabled
- Strong master password
- Two-factor authentication enabled
- Public registration disabled
- Strong admin token
- Admin interface protected
- Regular backups configured
- Backups stored off the Raspberry Pi
Network
- DNS points to the correct server
- Only necessary ports are exposed
- Reverse proxy is configured
- TLS certificate works
- Router firmware is current
Should You Expose Vaultwarden Directly to the Internet?
You can publish a properly configured Vaultwarden server through HTTPS, but you should not simply expose the Docker port.
Avoid:
Internet
   ↓
:8000
   ↓
Vaultwarden
Instead:
Internet
   ↓
HTTPS :443
   ↓
Reverse Proxy
   ↓
Vaultwarden
The official project recommends a reverse proxy and HTTPS for the web vault.
For administration, you can add another layer by restricting /admin through a VPN or reverse-proxy access policy.
Vaultwarden vs Bitwarden
Vaultwarden and Bitwarden are related but not the same server implementation.
Vaultwarden is an unofficial Bitwarden-compatible server. It aims to provide compatibility with Bitwarden clients while using a much lighter server implementation.
The distinction is important:
| Feature | Vaultwarden | Bitwarden |
|---|---|---|
| Self-hosted | Yes | Yes |
| Bitwarden-compatible | Yes | Official |
| Lightweight | Yes | Larger stack |
| Written in Rust | Yes | No |
| Docker | Yes | Yes |
| Raspberry Pi friendly | Yes | More demanding |
| Official Bitwarden server | No | Yes |
If your primary objective is running a lightweight password manager on a Raspberry Pi, Vaultwarden is an interesting option.
Can You Use Bitwarden Apps With Vaultwarden?
Vaultwarden is designed to be compatible with Bitwarden clients.
The official Bitwarden project maintains client applications including browser extensions, desktop applications and CLI components.
When configuring a client, you need to specify your Vaultwarden server URL rather than the default Bitwarden cloud server.
For example:
https://vault.example.comThe exact client configuration varies by platform.
Recommended Vaultwarden Architecture
For a Raspberry Pi home server, a practical architecture looks like this:
                     Internet
                         │
                         ▼
                  vault.example.com
                         │
                         ▼
                    HTTPS :443
                         │
                         ▼
                 Reverse Proxy
                         │
                         ▼
              ┌──────────────────┐
              │   Raspberry Pi   │
              │                  │
              │    Docker        │
              │       │          │
              │       ▼          │
              │   Vaultwarden    │
              │       │          │
              │       ▼          │
              │    /data         │
              └────────┬─────────┘
                       │
                       ▼
                  SSD / NVMe
                       │
                       ▼
                 Remote Backup
This is a much better design than simply installing Vaultwarden and forwarding port 8000 from your router.
Final Thoughts
Building a password manager with Vaultwarden is a natural extension of a Raspberry Pi home server.
The application is lightweight, Docker-friendly and designed to work with Bitwarden-compatible clients. The official project publishes containers for ARM architectures including arm64, armv7 and armv6, making it suitable for Raspberry Pi hardware.
The most important part of the project isn’t actually installing the Docker container. It’s securing the installation afterward.
A good deployment should have:
- HTTPS
- Reverse proxy
- Strong master password
- Two-factor authentication
- Disabled public registration
- Protected admin interface
- Regular backups
- Off-site backup storage
- Regular software updates
For a small personal or family server, a Raspberry Pi 4 or Raspberry Pi 5 with Docker and SSD storage can provide a compact platform for Vaultwarden alongside other useful services.
If you’re building a larger Raspberry Pi home server, Vaultwarden can become another container in the same infrastructure as Docker, Portainer, Tailscale, Pi-hole, Nextcloud and Jellyfin.
Suggested internal links: