
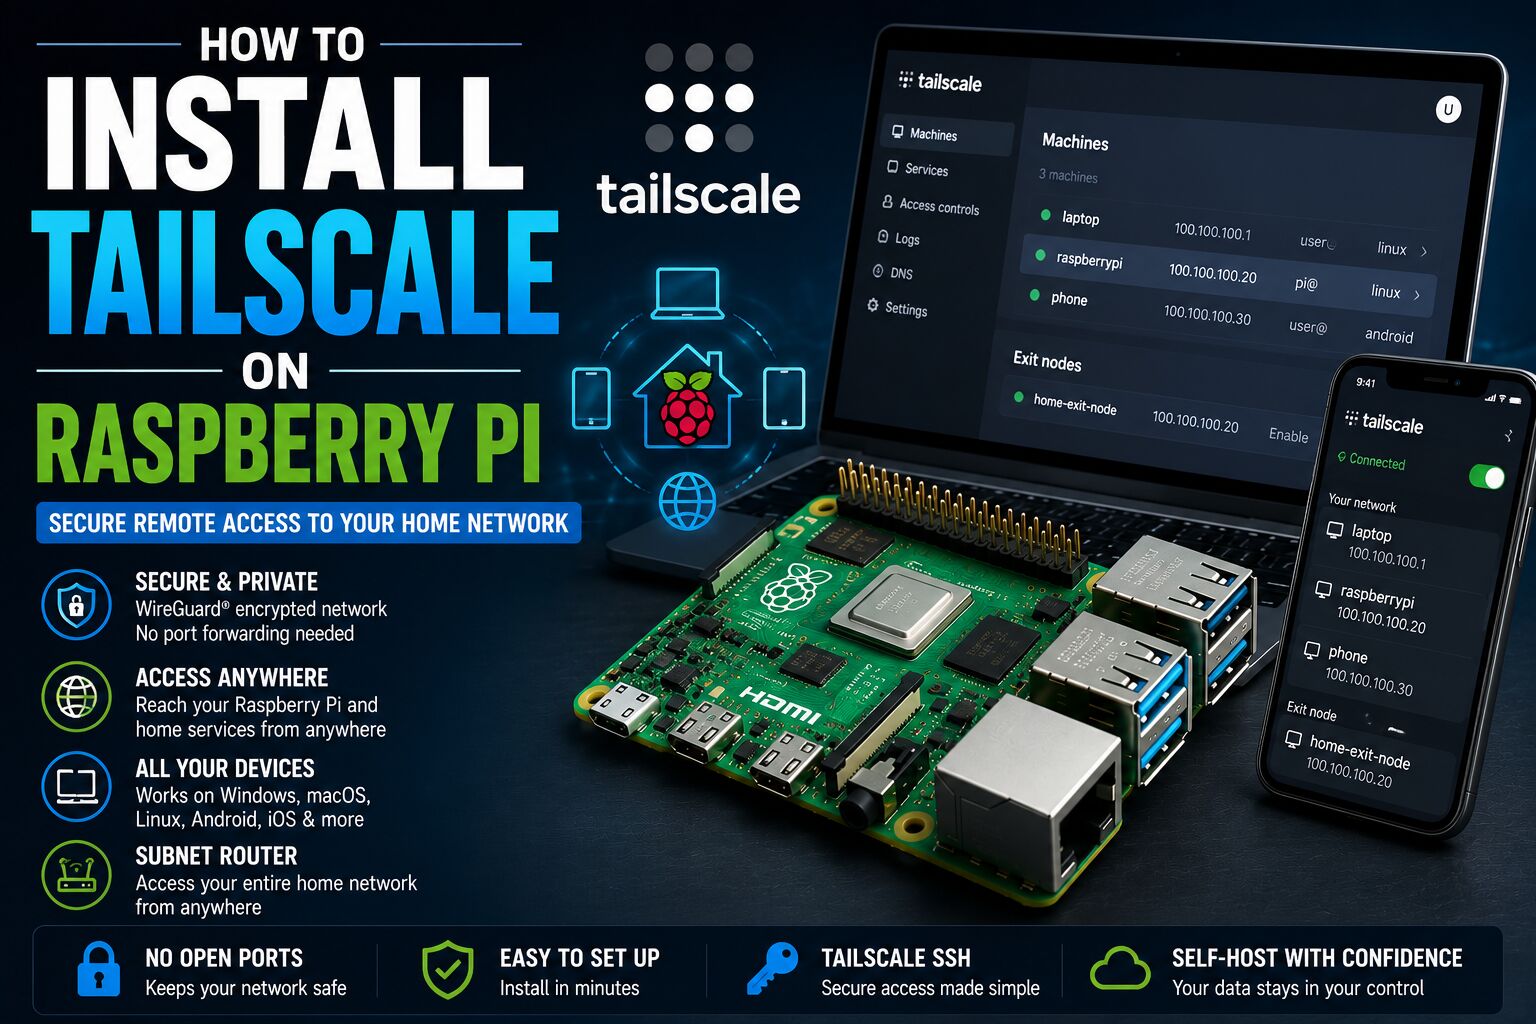
Tailscale creates a WireGuard-based private network that allows users to access a Raspberry Pi remotely without exposing services to the public internet or configuring router port forwarding. It enables remote connections to home-server applications like Jellyfin, Nextcloud, and CasaOS using assigned Tailscale IP addresses or hostnames.
The setup involves running an official installation script on Raspberry Pi OS and authenticating the device to a tailnet. Beyond basic remote access, the Raspberry Pi can manage authentication using Tailscale SSH or function as a subnet router to provide access to other home network devices.
If you have a Raspberry Pi running CasaOS, Jellyfin, Nextcloud, Pi-hole, Home Assistant, or other home-server applications, one of the easiest ways to access it remotely is with Tailscale.
Tailscale creates a private network between your devices using WireGuard. Instead of exposing services such as SSH, Jellyfin, or Nextcloud directly to the Internet, you can connect to your Raspberry Pi through your private Tailscale network.
The official Tailscale Linux installer supports Raspberry Pi OS and other Debian-based distributions.
In this guide, you’ll learn how to install Tailscale on a Raspberry Pi, connect it to your tailnet, access the Pi remotely, enable Tailscale SSH, and optionally configure the Raspberry Pi as a subnet router.
What Is Tailscale?
Tailscale is a networking solution built around WireGuard that allows your devices to communicate over a private network without requiring traditional VPN infrastructure.
Instead of:
Internet
   │
   ▼
Router
   │
Port Forwarding
   │
   ▼
Raspberry Pi
you can use:
                    Tailscale Network
                         │
          ┌──────────────┼──────────────┐
          │              │              │
        Laptop          Phone        Raspberry Pi
                                      │
                          ┌───────────┼───────────┐
                          │           │           │
                       Jellyfin   Nextcloud    CasaOS
The devices communicate through your private tailnet.
Tailscale assigns each connected device a Tailscale IP address, making it possible to reach your Raspberry Pi even when it is behind a typical home router.
Why Use Tailscale on Raspberry Pi?
Tailscale is particularly useful for Raspberry Pi home servers.
You can use it to remotely access:
- SSH
- CasaOS
- Jellyfin
- Nextcloud
- Home Assistant
- Pi-hole
- Docker containers
- Web applications
- Other services on your home network
The biggest advantage is that you don’t necessarily need to expose those services directly to the public Internet.
Tailscale vs Traditional Port Forwarding
A traditional setup might require forwarding ports from your router:
Internet
   │
   ▼
Router
   │
   ├── Port 22 → Raspberry Pi
   ├── Port 8096 → Jellyfin
   └── Port 443 → Nextcloud
This increases the number of services exposed to the Internet.
With Tailscale:
Laptop
   │
   │ Tailscale
   ▼
Raspberry Pi
   │
   ├── SSH
   ├── Jellyfin
   ├── Nextcloud
   └── CasaOS
For personal and home-lab environments, this can significantly simplify remote access.
What You Need
Before starting, you’ll need:
| Requirement | Recommendation |
|---|---|
| Raspberry Pi | Raspberry Pi 4 or 5 |
| Operating system | Raspberry Pi OS 64-bit |
| Internet | Required during installation |
| Network | Ethernet recommended |
| Tailscale account | Required |
| SSH | Optional but useful |
Tailscale officially supports Raspberry Pi OS.
Step 1: Update Raspberry Pi OS
Connect to your Raspberry Pi locally or through SSH.
Update the operating system:
sudo apt update
sudo apt full-upgrade -y
Then reboot:
sudo rebootReconnect after the Raspberry Pi has restarted.
Step 2: Check Your Raspberry Pi IP Address
Run:
hostname -IYou may see:
192.168.1.50This is the Raspberry Pi’s local network address.
You can use this address for local administration before Tailscale is configured.
Step 3: Create a Tailscale Account
You need a Tailscale account to connect the Raspberry Pi to a tailnet.
You can use a supported identity provider to create or access your account.
Once your account is ready, you can add your Raspberry Pi as a device.
Tailscale refers to the private network containing your connected devices as a tailnet.
Step 4: Install Tailscale
Tailscale provides an official installation script for Raspberry Pi OS.
Run:
curl -fsSL https://tailscale.com/install.sh | shThe official documentation currently recommends this command for supported Linux distributions, including Raspberry Pi OS.
The installer will:
- Add the Tailscale package repository
- Install Tailscale
- Install the required components
- Configure the Tailscale service
After installation, verify that the command is available:
tailscale versionStep 5: Connect Raspberry Pi to Tailscale
Run:
sudo tailscale upTailscale will display a URL similar to:
To authenticate, visit:

https://login.tailscale.com/a/xxxxxxxx
Open the URL in your browser and authenticate.
The Raspberry Pi will then be added to your tailnet.
Step 6: Verify the Connection
Check the Tailscale status:
tailscale statusYou should see your Raspberry Pi and other connected devices.
You can also display the Raspberry Pi’s Tailscale IP address:
tailscale ipTailscale assigns each device IPv4 and IPv6 addresses that can be used to communicate through the tailnet.
A Tailscale IPv4 address commonly looks like:
100.x.x.xStep 7: Access the Raspberry Pi Remotely
Suppose the Raspberry Pi’s Tailscale IP is:
100.100.10.20From another device connected to your tailnet:
ssh [email protected]You can now access the Raspberry Pi without forwarding port 22 through your router.
Tailscale also supports MagicDNS, which can allow you to use the machine’s hostname instead of its IP address.
For example:
ssh username@raspberrypiStep 8: Access CasaOS Through Tailscale
If you’re running CasaOS on the Raspberry Pi, you can access its web interface using the Tailscale IP.
For example:
http://100.100.10.20Instead of:
http://192.168.1.50This is particularly useful when you’re away from home.
Your architecture becomes:
Laptop
   │
   │ Tailscale
   ▼
Raspberry Pi
   │
  CasaOS
   │
 ┌─┼───────────────┐
 │ │               │
Jellyfin        Nextcloud
Step 9: Access Jellyfin Remotely
If Jellyfin is running on the Raspberry Pi’s port 8096, use:
http://100.100.10.20:8096You don’t necessarily need to expose port 8096 through your router.
This is particularly useful for a private family media server.
For example:
Phone
  │
  │ Tailscale
  ▼
Home Raspberry Pi
  │
Jellyfin
  │
Media Storage
Step 10: Access Nextcloud Through Tailscale
If Nextcloud is configured to listen on the Raspberry Pi, you can access it through its Tailscale address.
For example:
https://100.100.10.20or through a Tailscale hostname if your configuration supports it.
Remember that Nextcloud has a trusted domains configuration. If you access it using a new hostname or address, you may need to add that address to the trusted_domains configuration.
Step 11: Enable Tailscale SSH
Tailscale provides its own SSH functionality called Tailscale SSH.
It allows Tailscale to manage authentication and authorization for SSH connections over your tailnet.
On the Raspberry Pi, run:
sudo tailscale set --sshThe official documentation currently uses this command to enable Tailscale SSH.
You can then connect to the Raspberry Pi through Tailscale SSH.
Why Tailscale SSH Is Useful
Traditional SSH might look like:
Internet
   │
Port 22
   │
Router
   │
Raspberry Pi
Tailscale SSH instead keeps SSH access inside your tailnet.
Laptop
   │
Tailscale
   │
Raspberry Pi
   │
Tailscale SSH
This can eliminate the need to expose SSH directly to the Internet.
Tailscale SSH also supports access policies and additional verification options.
Step 12: Enable MagicDNS
MagicDNS allows you to access devices using their hostnames rather than remembering their Tailscale IP addresses.
For example:
ssh pi@raspberrypiinstead of:
ssh [email protected]This makes managing several Raspberry Pis significantly easier.
You can configure MagicDNS through the Tailscale administration interface.
Step 13: Install Tailscale on Your Laptop
To access your Raspberry Pi remotely, install Tailscale on the device you’ll use to connect.
You can install the client on:
- Windows
- macOS
- Linux
- Android
- iOS
- Other supported platforms
Tailscale’s official installation documentation provides platform-specific instructions.
Once logged into the same tailnet, your devices can communicate according to your network access policies.
Step 14: Install Tailscale on Your Phone
Installing Tailscale on your phone lets you access your home services remotely.
For example:
Phone
 │
 │ Tailscale
 ▼
Raspberry Pi
 │
 ├── Jellyfin
 ├── Nextcloud
 ├── Home Assistant
 └── Pi-hole
This is especially useful for accessing:
- Home Assistant
- Jellyfin
- Nextcloud
- Home-server dashboards
while traveling.
Step 15: Use the Raspberry Pi as a Subnet Router
One of the more powerful Tailscale features is subnet routing.
A subnet router allows devices on your home LAN that don’t have Tailscale installed to be reached through the Raspberry Pi.
For example:
                 Tailscale
                    │
                  Pi 5
                    │
             Subnet Router
                    │
             192.168.1.0/24
          ┌─────────┼─────────┐
          │         │         │
        NAS       Printer     TV
This is useful for devices where you can’t install Tailscale.
Step 16: Enable IP Forwarding
For a Linux subnet router, Tailscale’s current documentation recommends enabling IPv4 and IPv6 forwarding.
Run:
echo 'net.ipv4.ip_forward = 1' | sudo tee -a /etc/sysctl.d/99-tailscale.confThen:
echo 'net.ipv6.conf.all.forwarding = 1' | sudo tee -a /etc/sysctl.d/99-tailscale.confApply the settings:
sudo sysctl -p /etc/sysctl.d/99-tailscale.confStep 17: Advertise Your Home Network
Suppose your home network is:
192.168.1.0/24Tell Tailscale that the Raspberry Pi should advertise that subnet:
sudo tailscale set --advertise-routes=192.168.1.0/24Tailscale’s documentation uses this approach for configuring Linux subnet routers.
Step 18: Approve the Route
After advertising the subnet, open the Tailscale administration console.
Find your Raspberry Pi in the Machines list.
You should see a subnet-related indicator.
Open the device’s route settings and approve the advertised subnet.
Tailscale requires the advertised route to be enabled in the administration console before other devices can use it.
Step 19: Test the Subnet Router
From a remote device connected to Tailscale, try to access a device on your home network.
For example:
ping 192.168.1.100You could then access a NAS, server, or other LAN device that doesn’t have Tailscale installed.
Tailscale as a VPN for Your Home Network
A Raspberry Pi can therefore serve as more than a remote-access endpoint.
It can become a gateway into your home network.
                 Internet
                     │
                     ▼
                  Tailscale
                     │
                     ▼
                Raspberry Pi
                     │
               Subnet Router
                     │
          ┌──────────┼──────────┐
          │          │          │
         NAS       Home Lab   Printer
This can be extremely useful for home labs.
Tailscale vs WireGuard
Tailscale uses WireGuard as part of its underlying networking technology, but it provides additional management functionality.
| Feature | Tailscale | Manual WireGuard |
|---|---|---|
| Installation | Easy | Moderate |
| Device management | Excellent | Manual |
| Authentication | Identity-based | Keys |
| NAT traversal | Automatic | Manual configuration often required |
| Mesh networking | Excellent | Manual |
| ACLs | Yes | Manual |
| Subnet routing | Yes | Yes |
| Raspberry Pi | Excellent | Excellent |
| Beginner friendly | ⭐⭐⭐⭐⭐ | ⭐⭐⭐ |
| Advanced control | Excellent | Excellent |
If you simply want a private network between several devices without managing WireGuard configuration files manually, Tailscale is much easier.
Tailscale vs Traditional VPN
Traditional VPNs often require you to configure:
- Server
- Certificates or keys
- Firewall
- Port forwarding
- Routing
- Client configuration
Tailscale automates much of this.
That makes it particularly attractive for Raspberry Pi home servers.
Can Tailscale Replace Port Forwarding?
For many remote-access scenarios, yes.
If you only need your own devices to access your Raspberry Pi, Tailscale can eliminate the need to forward ports such as:
22
80
443
8096
8123
from your router.
However, Tailscale isn’t necessarily a replacement for a public web server.
If you want anyone on the public Internet to access your website, a public HTTPS service or reverse proxy may still be appropriate.
Tailscale Exit Nodes
Another useful feature is an exit node.
An exit node allows another Tailscale device to route its Internet traffic through the Raspberry Pi.
For example:
Laptop
   │
Tailscale
   │
   ▼
Raspberry Pi
   │
Home Internet
   │
   ▼
Internet
This can be useful when traveling and wanting your traffic to appear as if it originates from your home network.
However, an exit node is different from a subnet router:
- Subnet router: provides access to private networks.
- Exit node: routes Internet traffic through another device.
Don’t enable an exit node unless you understand the bandwidth and security implications.
Tailscale with Pi-hole
Tailscale and Pi-hole make a particularly useful combination.
You can use your Raspberry Pi as a DNS filtering server and use Tailscale to access it remotely.
For example:
Phone
 │
 │ Tailscale
 ▼
Raspberry Pi
 │
 ├── Tailscale
 │
 └── Pi-hole
       │
       ▼
    DNS filtering
This can let you use your home Pi-hole installation while away from home.
Tailscale even provides an official Raspberry Pi example for combining Tailscale and Pi-hole.
Tailscale with CasaOS
If your Raspberry Pi already runs CasaOS, Tailscale is a natural addition.
You could have:
Raspberry Pi 5
      │
    CasaOS
      │
 ┌────┼──────────────┐
 │    │              │
Jellyfin Nextcloud  Pi-hole
      │
  Tailscale
      │
 Remote Access
This gives you a complete private home-server environment.
You can access the services remotely without exposing each application directly to the public Internet.
Tailscale with Jellyfin
Tailscale is particularly useful for private Jellyfin servers.
Instead of:
Public Internet
      │
Port 8096
      │
Jellyfin
you can use:
Phone
 │
Tailscale
 │
Raspberry Pi
 │
Jellyfin
Then you can stream your media remotely from your own devices.
The main limitation will be your home Internet upload speed and Jellyfin’s ability to handle the media stream.
Tailscale with Nextcloud
Nextcloud can also be accessed through Tailscale.
This is useful if your Nextcloud server is primarily for personal or family use.
You don’t necessarily need to make the Nextcloud installation publicly accessible.
Instead:
Laptop
 │
Tailscale
 ▼
Raspberry Pi
 │
Nextcloud
 │
SSD
This can significantly simplify the networking side of a private Nextcloud installation.
Tailscale Security
Tailscale improves the networking architecture, but you still need to secure your Raspberry Pi.
Follow basic security practices:
- Keep Raspberry Pi OS updated.
- Keep Tailscale updated.
- Use strong account credentials.
- Enable two-factor authentication on your identity provider.
- Review devices in your tailnet.
- Remove old devices.
- Use access policies when necessary.
- Don’t disable security features unnecessarily.
- Keep backups.
Tailscale provides access controls that allow administrators to determine which users and devices can communicate.
Should You Disable Key Expiry?
Tailscale devices normally have key-expiry behavior designed to periodically require reauthentication.
For servers that are expected to remain connected continuously, such as Raspberry Pis, Tailscale documents an option to disable key expiry.
However, this reduces security.
I recommend disabling key expiry only on trusted devices where the operational benefit is important.
If the Raspberry Pi is lost or compromised, revoke its access immediately.
Check Tailscale Status
Use:
tailscale statusThis shows the devices currently visible to your Raspberry Pi.
Check the Tailscale IP
Run:
tailscale ipYou can use the resulting address to connect to the Raspberry Pi.
Check the Tailscale Service
Run:
sudo systemctl status tailscaledYou should see that the service is running.
Restart Tailscale
If you encounter a temporary problem:
sudo systemctl restart tailscaledThen check:
tailscale statusReauthenticate Tailscale
If authentication expires:
sudo tailscale up --force-reauthThe official documentation provides this command for forcing reauthentication.
Common Problems
Tailscale command not found
Check whether installation completed:
tailscale versionIf it isn’t available, reinstall using the official installer.
Raspberry Pi isn’t visible in the Tailscale admin console
Run:
tailscale statusThen:
sudo tailscale upMake sure you authenticate using the correct account.
Can’t connect through Tailscale
Check:
tailscale statusThen verify:
tailscale ping <device-name>Also make sure both devices are connected to the same tailnet and that your access policies permit the connection.
Missing TUN Module
Tailscale requires the Linux tun kernel module.
If you receive an error indicating that the module is missing, load it:
sudo modprobe tunThe official Tailscale documentation specifically identifies tun as a required kernel module.
Check:
lsmod | grep tunShould You Use Tailscale on a Raspberry Pi?
For most Raspberry Pi home-server users, yes.
It is especially useful if your Raspberry Pi runs:
- CasaOS
- Jellyfin
- Nextcloud
- Pi-hole
- Home Assistant
- Docker
- NAS services
- Development environments
Instead of exposing each service to the Internet, you can create a private network and access them through Tailscale.
Recommended Raspberry Pi Tailscale Setup
For a typical home server, I’d use:
                  Internet
                     │
                     ▼
                 Tailscale
                     │
            ┌────────┴────────┐
            │   Raspberry Pi 5│
            │                 │
            │    Tailscale    │
            │                 │
            ├────── CasaOS ───┤
            │                 │
            ├──── Jellyfin ───┤
            │                 │
            ├─── Nextcloud ────┤
            │                 │
            ├──── Pi-hole ────┤
            │                 │
            └──── SSD Storage─┘
This is a powerful combination for a low-power home lab.
Final Thoughts
Installing Tailscale on a Raspberry Pi is one of the simplest ways to add secure remote connectivity to a home server.
The basic installation only requires:
curl -fsSL https://tailscale.com/install.sh | shfollowed by:
sudo tailscale upAfter authentication, the Raspberry Pi becomes part of your private tailnet and receives Tailscale addresses that other authorized devices can use.
From there, you can access SSH, CasaOS, Jellyfin, Nextcloud, Home Assistant, Pi-hole, and other services without necessarily exposing each one through your router.
For more advanced setups, the Raspberry Pi can also act as a subnet router, allowing remote Tailscale devices to access other devices on your home LAN.
For a Raspberry Pi home server, the combination of Tailscale + CasaOS + Docker + Jellyfin + Nextcloud + Pi-hole can provide a remarkably capable private infrastructure platform.
Frequently Asked Questions
Is Tailscale free?
Tailscale offers a free Personal plan for individual use, along with paid plans for teams and organizations.
Does Tailscale work on Raspberry Pi?
Yes. Raspberry Pi OS is officially supported.
Does Tailscale require port forwarding?
For normal Tailscale connectivity, you generally don’t need to manually forward ports on your router.
Is Tailscale better than WireGuard?
Tailscale uses WireGuard technology but adds identity management, device management, access controls, and easier networking. If you want maximum manual control, WireGuard can be preferable; if you want simplicity, Tailscale is usually easier.
Can I access my Raspberry Pi remotely with Tailscale?
Yes. Once both your Raspberry Pi and remote device are connected to the same tailnet, you can access the Raspberry Pi using its Tailscale IP or hostname.
Can I use Tailscale with Jellyfin?
Yes. Tailscale is useful for privately accessing Jellyfin without necessarily exposing Jellyfin directly to the public Internet.
Can Tailscale access devices that don’t have Tailscale installed?
Yes. A Raspberry Pi can be configured as a subnet router to provide access to devices on its local network that don’t run Tailscale.
Can Tailscale replace a VPN?
For many personal remote-access and private-network scenarios, yes. Tailscale itself provides encrypted networking using WireGuard.
Recommended Links
- Install CasaOS on Raspberry Pi
- CasaOS vs OpenMediaVault
- Install Jellyfin on Raspberry Pi
- Install Nextcloud on Raspberry Pi
- Install Pi-hole on Raspberry Pi
- Best Single Board Computers for Home Servers
- How to Build a Home Server with a Single Board Computer
- Best SBC for Home Assistant
- How to Install Linux on a Single Board Computer