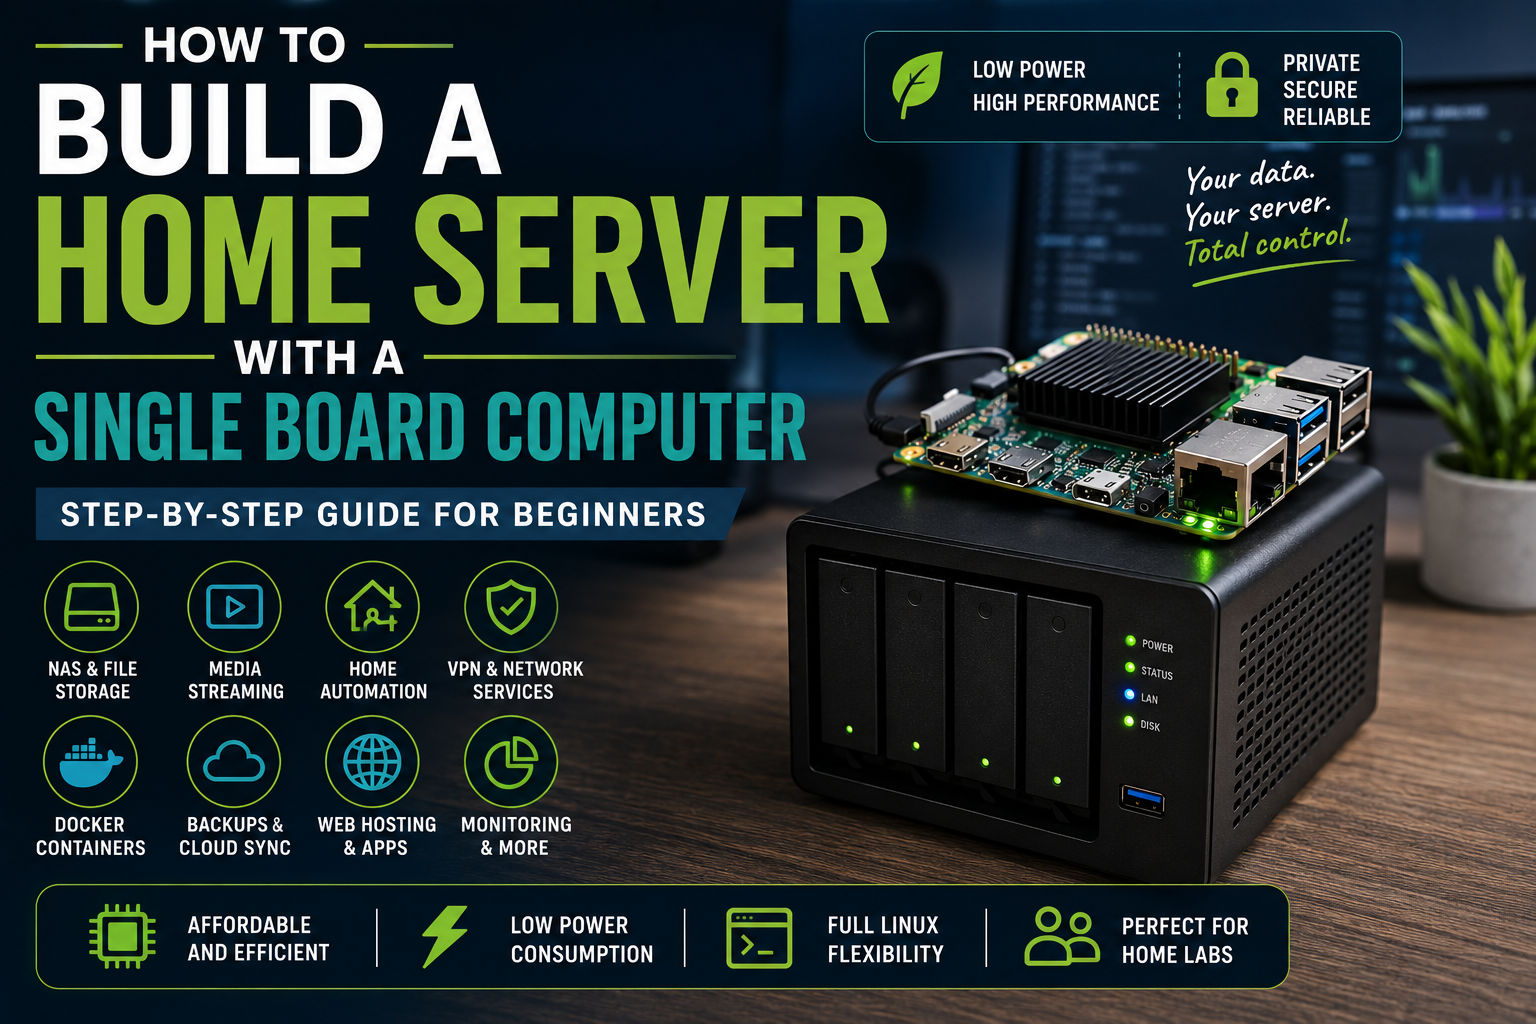
A single board computer (SBC) is one of the best ways to build a powerful, energy-efficient home server without spending hundreds of dollars on enterprise hardware. Modern SBCs are capable of running file servers, media servers, Docker containers, home automation platforms, VPNs, and dozens of self-hosted applications—all while consuming less electricity than a traditional desktop PC.
Whether you’re a beginner creating your first home lab or an experienced Linux user looking for a compact server, this guide will walk you through every step of building a reliable home server with a single board computer.
Why Build a Home Server?
A home server allows you to host your own services instead of relying on cloud providers.
Common uses include:
- File storage (NAS)
- Media streaming
- Home Assistant
- Docker containers
- Personal cloud storage
- VPN server
- Pi-hole ad blocker
- Git server
- Website hosting
- Network monitoring
- Backup server
Benefits include:
✅ Complete control
✅ Better privacy
✅ No monthly subscription fees
✅ Learn Linux and networking
✅ Expand whenever needed
Choosing the Right Single Board Computer
Not sure which board to buy? Our guide on How to Choose the Right Single Board Computer explains the most important hardware features, including CPU performance, RAM, networking, and storage options.
Not every SBC is ideal for server workloads.
Recommended options include:
| SBC | Best For | Rating |
|---|---|---|
| Orange Pi 5 Plus | Best Overall | ⭐⭐⭐⭐⭐ |
| Raspberry Pi 5 | Beginners | ⭐⭐⭐⭐⭐ |
| ROCK Pi 4 | Docker & NAS | ⭐⭐⭐⭐☆ |
| ODROID N2+ | Home Assistant | ⭐⭐⭐⭐☆ |
| LattePanda 3 Delta | Windows Servers | ⭐⭐⭐⭐☆ |
For a detailed breakdown of today’s top recommendations, read Best Single Board Computers for Home Servers.
For most users, an SBC with NVMe SSD support provides the best balance of speed and reliability.
Hardware You’ll Need
Before you begin, gather the following:
- Single board computer
- Reliable power supply
- 32GB+ microSD card (or preferably an NVMe SSD)
- Ethernet cable
- SSD enclosure (if required)
- USB keyboard and mouse (optional)
- HDMI monitor (optional)
Recommended upgrades:
- Heatsink
- Cooling fan
- UPS (battery backup)
- External USB drive
- Gigabit switch
Step 1: Install Linux
The easiest server operating systems are:
- Ubuntu Server
- Debian
- Armbian
- Raspberry Pi OS Lite
If you’re installing Linux for the first time, follow our complete How to Install Linux on a Single Board Computer tutorial.
Flash the operating system using software like:
- Raspberry Pi Imager
- Balena Etcher
Then boot the board.
Step 2: Update Your System
After connecting to the network:
sudo apt update
sudo apt upgrade -y
Keeping packages updated improves security and stability.
Step 3: Enable SSH
SSH allows remote administration.
Install if necessary:
sudo apt install openssh-serverEnable the service:
sudo systemctl enable ssh
sudo systemctl start ssh
Connect from another computer:
ssh [email protected]Step 4: Configure Static IP
Servers should have a fixed IP address.
Benefits:
- Easier management
- Reliable port forwarding
- Stable DNS entries
You can configure this:
- On your router (DHCP reservation)
- Directly within Linux
Step 5: Install Docker
Docker makes deploying applications incredibly simple.
Install Docker:
curl -fsSL https://get.docker.com | shVerify installation:
docker --versionDocker allows you to run dozens of services without conflicts.
Step 6: Install Your First Services
Popular beginner services include:
Pi-hole
Blocks ads across your network.
Home Assistant
Automates smart home devices.
Jellyfin
Streams movies and TV shows.
Nextcloud
Private cloud storage.
WireGuard
Secure VPN access.
Vaultwarden
Self-hosted password manager.
Gitea
Private Git repository.
Step 7: Add SSD Storage
Although microSD cards work, SSDs offer:
- Better reliability
- Faster boot times
- Better Docker performance
- Lower risk of corruption
Whenever possible, use:
- NVMe SSD
- SATA SSD
- USB SSD
Step 8: Secure Your Server
Before exposing your server to the internet:
Update packages:
sudo apt updateEnable the firewall:
sudo ufw enableUse SSH keys instead of passwords.
Disable root login.
Create strong passwords.
Install automatic updates if appropriate.
Step 9: Create Backups
Backups are essential.
Back up:
- Docker volumes
- Configuration files
- Databases
- User data
Popular tools include:
- rsync
- BorgBackup
- Restic
- Duplicati
Step 10: Monitor Your Server
Useful monitoring tools include:
- htop
- Glances
- Netdata
- Grafana
- Prometheus
Monitor:
- CPU usage
- RAM
- Storage
- Temperature
- Network traffic
Example Home Server Setup
Hardware
Orange Pi 5 Plus
8GB RAM
500GB NVMe SSD
Gigabit Ethernet
Passive heatsink
Software
Ubuntu Server
Docker
Portainer
Pi-hole
Nextcloud
WireGuard
Jellyfin
Grafana
This setup easily supports multiple self-hosted applications simultaneously.
Recommended Self-Hosted Applications
| Application | Purpose |
|---|---|
| Pi-hole | Network-wide ad blocking |
| Home Assistant | Smart home automation |
| Jellyfin | Media streaming |
| Nextcloud | Private cloud |
| Vaultwarden | Password management |
| Immich | Photo backup |
| Gitea | Git hosting |
| Nginx Proxy Manager | Reverse proxy |
| Uptime Kuma | Service monitoring |
| Grafana | Dashboards |
Common Mistakes
Avoid these beginner errors:
Using a poor-quality power supply
Running everything from a cheap microSD card
Skipping backups
Ignoring updates
Exposing services directly to the internet
Not monitoring temperatures
Using weak passwords
Frequently Asked Questions
Can a Raspberry Pi replace a home server?
Yes. For many workloads, a Raspberry Pi 5 is more than capable of hosting file sharing, Home Assistant, VPN services, Docker containers, and lightweight media servers.
Is an SSD necessary?
Not required, but highly recommended.
SSDs provide significantly better speed and reliability than microSD cards.
Which Linux distribution is best?
For beginners:
Ubuntu Server
For Raspberry Pi:
Raspberry Pi OS Lite
For Orange Pi:
Armbian
How much RAM do I need?
2GB:
Pi-hole
VPN
DNS
4GB:
Home Assistant
Small Docker setups
8GB:
Media servers
Multiple containers
16GB:
Heavy multitasking
Development
Final Thoughts
Building a home server with a single board computer is one of the best ways to learn Linux, networking, and self-hosting while creating a powerful system that runs quietly and efficiently 24/7.
Whether you’re hosting a personal cloud, streaming media, blocking ads across your network, or automating your smart home, today’s SBCs deliver impressive performance at a fraction of the cost and power consumption of traditional servers.
Start with a reliable board, use an SSD whenever possible, keep your system updated, and add new services as your skills grow. Your home server can evolve from a simple file server into the heart of your entire home lab.