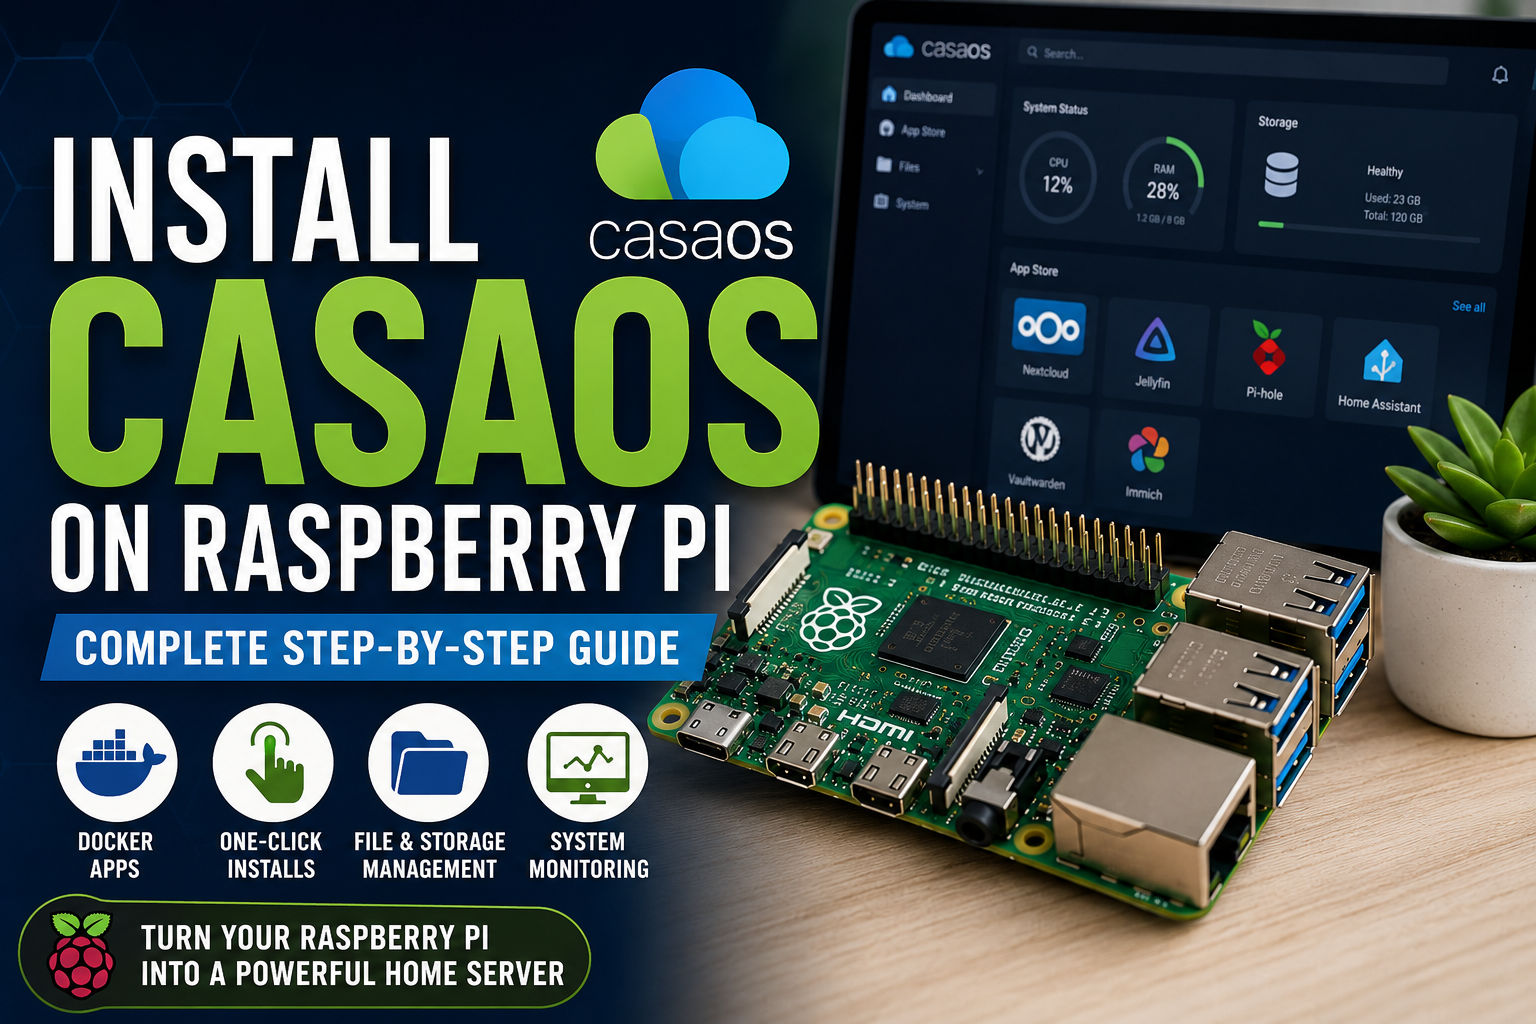
CasaOS has become one of the easiest ways to transform a Raspberry Pi into a powerful home server. With its clean web interface and one-click application store, you can deploy services like Nextcloud, Jellyfin, Pi-hole, Home Assistant, Immich, and many other self-hosted applications without manually creating Docker containers.
In this guide, you’ll learn how to install CasaOS on a Raspberry Pi, secure your installation, and configure your first applications.
What is CasaOS?
CasaOS is an open-source home cloud operating environment that runs on top of Linux. It isn’t a replacement for Raspberry Pi OS—instead, it adds an intuitive web dashboard for managing Docker applications, storage, users, and system resources. It officially supports Raspberry Pi OS along with several other Linux distributions.
Why Use CasaOS?
Instead of installing Docker containers manually, CasaOS provides:
- Beautiful web interface
- One-click App Store
- Docker management
- File manager
- Storage management
- Terminal access
- Resource monitoring
- User management
- Easy application updates
Perfect for beginners and home lab enthusiasts.
What Can You Build?
With CasaOS you can create:
- Personal cloud (Nextcloud)
- Media server (Jellyfin)
- Plex Server
- Pi-hole DNS server
- Home Assistant
- Immich photo server
- Vaultwarden password manager
- File server
- Docker host
- Development server
Hardware Requirements
Recommended hardware:
| Component | Recommendation |
|---|---|
| SBC | Raspberry Pi 5 (Recommended) or Raspberry Pi 4 (4GB+) |
| Storage | 64GB+ SSD (preferred) or A2 microSD |
| RAM | 4GB minimum, 8GB recommended |
| Network | Gigabit Ethernet |
| Power Supply | Official Raspberry Pi PSU |
An SSD provides significantly better reliability and performance than a microSD card for a server that runs continuously.
Supported Operating Systems
CasaOS officially supports:
- Raspberry Pi OS (64-bit)
- Debian
- Ubuntu Server
- Other compatible Linux distributions
Raspberry Pi OS is the simplest option for most users.
Step 1 – Install Raspberry Pi OS
Download Raspberry Pi OS Lite (64-bit).
Flash it using:
- Raspberry Pi Imager
- Balena Etcher
During setup enable:
- SSH
- Hostname
- Username
- Password
- Wi-Fi (if needed)
Boot the Raspberry Pi.
Step 2 – Update the System
Connect through SSH:
ssh pi@YOUR_PI_IPUpdate packages:
sudo apt update
sudo apt full-upgrade -y
sudo reboot
Reconnect after rebooting.
Step 3 – Install CasaOS
The official installation is a single command:
curl -fsSL https://get.casaos.io | sudo bashor
wget -qO- https://get.casaos.io | sudo bashThe installer automatically downloads the required components, installs Docker if needed, configures CasaOS services, and starts the web interface.
Installation usually takes 5–10 minutes.
Step 4 – Access the Dashboard
Once installation finishes, open your browser and visit:
http://YOUR_PI_IPExample:
http://192.168.1.120You’ll be greeted by the CasaOS setup wizard.
Step 5 – Create Your Account
Choose:
- Username
- Password
These credentials are used to access the CasaOS dashboard.
Use a strong password because this server may eventually host personal files and services.
Understanding the Dashboard
The dashboard includes:
- Installed Apps
- File Manager
- Terminal
- App Store
- Storage
- Resource Monitor
- Settings
Everything is managed through your browser.
Installing Your First Application
Open:
App Store
Popular beginner apps include:
- Nextcloud
- Jellyfin
- Home Assistant
- Pi-hole
- Portainer
- Immich
- Vaultwarden
Click:
Install
Most applications deploy automatically using Docker.
Recommended First Applications
Jellyfin
Create your own Netflix.
Features:
- Movies
- TV Shows
- Music
- Live TV
Nextcloud
Private cloud storage.
Ideal replacement for:
- Google Drive
- Dropbox
Pi-hole
Blocks ads across your entire network.
Benefits:
- Faster browsing
- Less tracking
- Improved privacy
Home Assistant
Control:
- Lights
- Sensors
- Cameras
- Smart plugs
- Automations
Immich
Excellent self-hosted alternative to Google Photos.
Supports:
- Automatic backups
- AI search
- Face recognition
- Albums
Configure an SSD
Although CasaOS works with microSD cards, an SSD is recommended because it offers:
- Better speed
- Longer lifespan
- Greater reliability
- Improved Docker performance
If your Raspberry Pi supports USB 3.0 boot, install Raspberry Pi OS directly on the SSD before installing CasaOS.
Assign a Static IP
A server should always keep the same IP address.
You can:
- Reserve the IP in your router (recommended)
- Configure a static IP in Raspberry Pi OS
This prevents broken connections after router reboots.
Enable Remote Access
For secure remote access:
- Tailscale
- WireGuard
- Cloudflare Tunnel
Avoid exposing ports directly to the Internet unless you understand the security implications.
Backup Your Data
Regularly back up:
- Docker volumes
- Configuration files
- Databases
- Photos
- Documents
External SSDs and NAS devices are ideal backup targets.
Updating CasaOS
Updates can be installed from the web interface or manually:
curl -fsSL https://get.casaos.io/update | sudo bashThe CasaOS documentation recommends running this command from a regular terminal rather than the built-in web terminal.
Useful Commands
Restart CasaOS services:
sudo systemctl restart casaos.serviceRestart Docker:
sudo systemctl restart dockerCheck Docker containers:
docker psSystem information:
hostnamectlDisk usage:
df -hCommon Problems
Cannot access the dashboard
Check the service:
sudo systemctl status casaos.serviceDocker isn’t running
Restart Docker:
sudo systemctl restart dockerApps won’t install
Verify:
- Internet connection
- Available storage
- Docker service
- System updates
Dashboard won’t load
Check:
ip addrConfirm you’re using the correct IP address.
Performance Tips
- Use an SSD instead of a microSD card.
- Connect via Gigabit Ethernet when possible.
- Keep Raspberry Pi OS updated.
- Avoid installing unnecessary containers.
- Monitor CPU temperature during heavy workloads.
- Use adequate cooling for Raspberry Pi 5.
Is CasaOS Better Than OpenMediaVault?
| Feature | CasaOS | OpenMediaVault |
|---|---|---|
| Ease of Use | ⭐⭐⭐⭐⭐ | ⭐⭐⭐ |
| Docker Support | Excellent | Good |
| File Server | Excellent | Excellent |
| NAS Features | Good | Excellent |
| App Store | Yes | Limited |
| Beginner Friendly | Excellent | Moderate |
| Home Lab | Excellent | Good |
If your goal is to build a flexible home lab with Docker applications, CasaOS is generally the easier starting point. If your primary focus is advanced NAS management, OpenMediaVault offers more specialized storage features.
Frequently Asked Questions
Is CasaOS free?
Yes. CasaOS is completely free and open source.
Does CasaOS replace Raspberry Pi OS?
No. It runs on top of Raspberry Pi OS and other supported Linux distributions.
Does CasaOS use Docker?
Yes. Every application is deployed as a Docker container.
Can I install Home Assistant?
Yes. Home Assistant is available directly from the CasaOS App Store.
Can I install Nextcloud?
Yes. Nextcloud is one of the most popular applications available through CasaOS.
Is Raspberry Pi 5 good for CasaOS?
Yes. The Raspberry Pi 5 provides excellent CPU performance, USB 3.0 storage support, and ample resources for running multiple Docker containers simultaneously.
Conclusion
CasaOS makes self-hosting remarkably approachable. With only a few commands, your Raspberry Pi can become a personal cloud, media server, smart home hub, or development platform managed through an intuitive web interface. Pair it with an SSD, a static IP address, and regular backups, and you’ll have a reliable, low-power home server that can grow as your needs evolve.