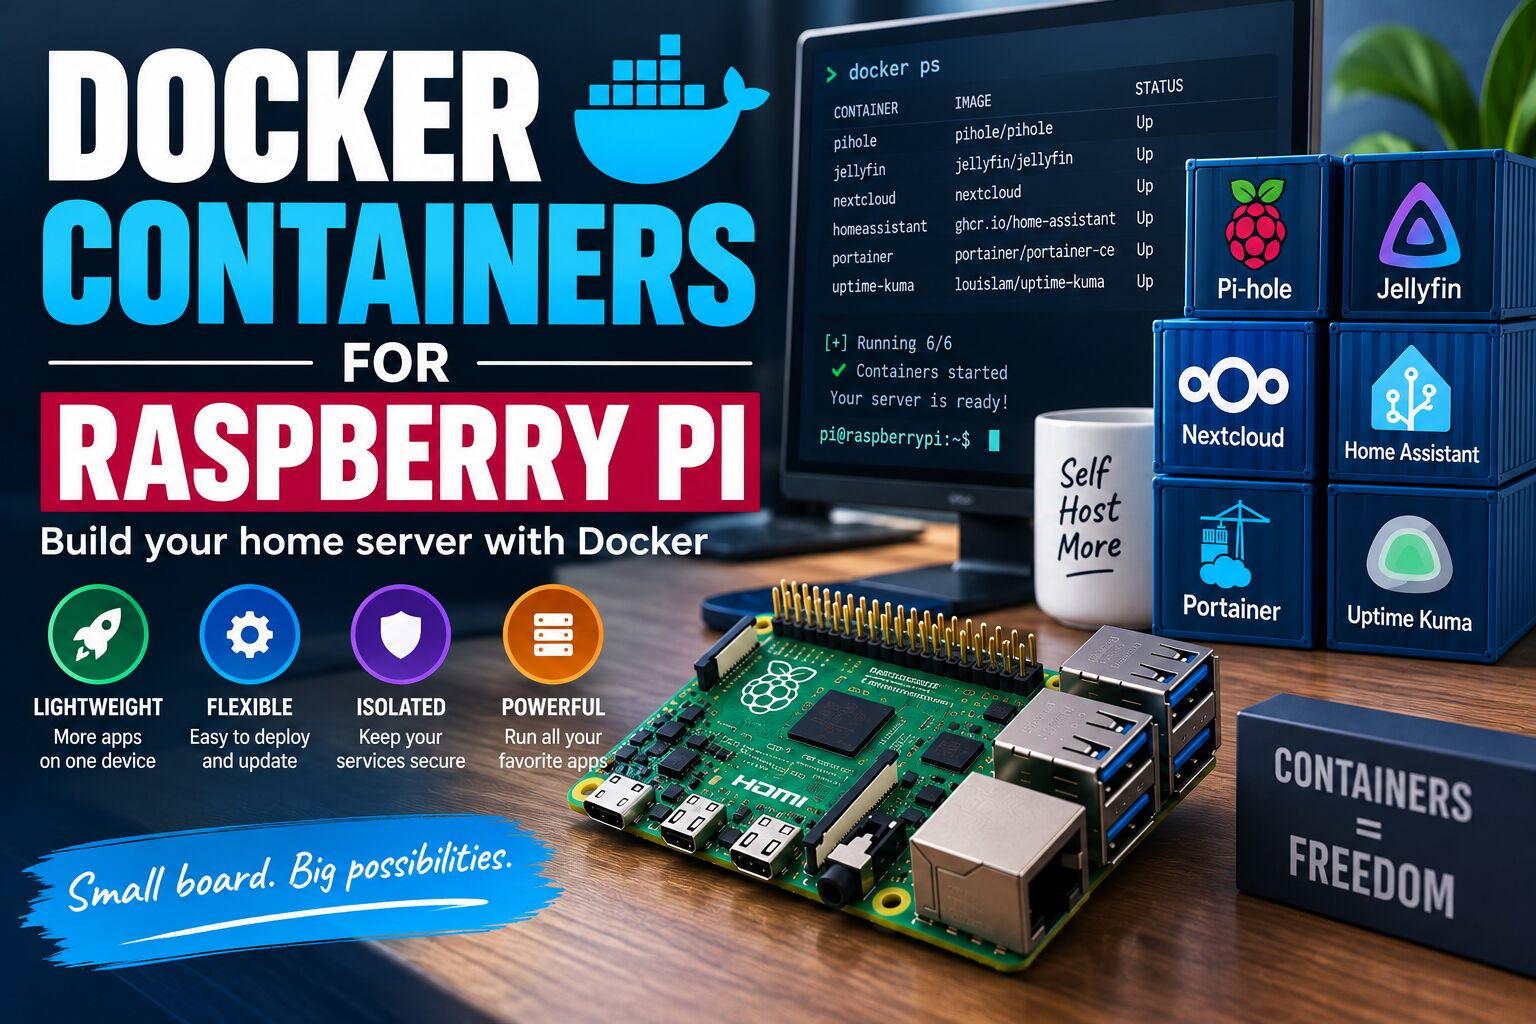
Docker makes the Raspberry Pi much more useful as a home server. Instead of installing every application directly on Raspberry Pi OS, you can run applications in isolated containers that are easier to deploy, update, remove, and manage.
With Docker, a Raspberry Pi can host services such as Pi-hole, Jellyfin, Nextcloud, Home Assistant, Uptime Kuma, databases, web applications, VPN tools, and many other self-hosted applications.
This guide explains how Docker containers work on Raspberry Pi, how to install Docker, how to create your first container, how to use Docker Compose, and how to avoid the most common problems.
What Is Docker?
Docker is a platform for packaging and running applications in containers.
A container includes the application and the software it needs to run, while sharing the Raspberry Pi’s Linux kernel with other containers.
Instead of installing an application directly into your operating system, you can run something like:
docker run ...Docker downloads an image and creates a container from it.
For a Raspberry Pi home server, this has several advantages:
- Applications are isolated from each other
- Installation is usually much faster
- Containers can be deleted without uninstalling packages manually
- Applications can be moved or recreated more easily
- Different applications can use different dependencies
- Docker Compose can manage multiple services together
- Applications can be updated without rebuilding the entire operating system
Docker is therefore particularly useful when your Raspberry Pi becomes a multi-service home server.
Why Use Docker on a Raspberry Pi?
A Raspberry Pi is already a capable low-power Linux computer. Docker adds another layer of flexibility.
For example, instead of dedicating one Raspberry Pi to Pi-hole and another to Jellyfin, you can potentially run both as containers on the same machine.
You could have:
Raspberry Pi
│
├── Docker
│   ├── Pi-hole
│   ├── Jellyfin
│   ├── Nextcloud
│   ├── Uptime Kuma
│   └── Home Assistant
│
├── SSD / NVMe storage
│
└── Ethernet network
The exact number of services you can run depends on your Raspberry Pi model, RAM, storage, workload, and whether applications perform CPU-intensive tasks.
Docker is particularly attractive on newer boards such as the Raspberry Pi 5, but Raspberry Pi 4 models can also be excellent container hosts.
Your existing [Top 10 Single Board Computers in 2026] page can help readers compare Raspberry Pi with higher-performance SBCs.
Raspberry Pi Docker Requirements
Before installing Docker, make sure your Raspberry Pi has adequate hardware.
Recommended configuration
| Component | Recommendation |
|---|---|
| Raspberry Pi | Raspberry Pi 4 or Raspberry Pi 5 |
| RAM | 4GB+ recommended for multiple services |
| OS | 64-bit Raspberry Pi OS |
| Storage | SSD/NVMe preferred |
| Network | Ethernet preferred |
| Power | Official or high-quality power supply |
| Cooling | Active cooling recommended for sustained workloads |
You can run lightweight containers on less powerful Raspberry Pi models, but demanding applications can quickly consume RAM, CPU, storage, and network bandwidth.
Use 64-bit Raspberry Pi OS
For a new Docker installation, 64-bit Raspberry Pi OS is the better choice.
Docker currently warns that Raspberry Pi OS 32-bit/armhf is being deprecated: Docker Engine 28 is the last major version providing official packages for Raspberry Pi OS 32-bit, while newer major releases move users toward 64-bit ARM packages.
Check your architecture with:
uname -mA 64-bit installation should normally report:
aarch64You can also run:
dpkg --print-architectureA 64-bit Debian-based Raspberry Pi installation should report:
arm64Raspberry Pi Storage: Don’t Rely on a Cheap microSD Card
Docker can generate significant disk activity.
Container images, logs, databases, application data, and Docker volumes can all consume storage.
For a Raspberry Pi that will run several services, I recommend:
Raspberry Pi → USB 3 SSD or NVMe → Docker
rather than:
Raspberry Pi → cheap microSD → Docker
An SSD is particularly important for applications such as:
- Nextcloud
- databases
- Jellyfin metadata
- Docker-heavy home servers
- monitoring systems
- file servers
Your [Single Board Computer Comparison List] already includes storage and NVMe information that can help readers choose suitable hardware.
How to Install Docker on Raspberry Pi
The recommended approach is to use Docker’s official repository rather than an old third-party installation guide.
Docker currently provides specific installation instructions for Raspberry Pi OS and supports ARM64 installations.
Step 1: Update Raspberry Pi OS
Start by updating the operating system:
sudo apt update
sudo apt upgrade -y
Reboot if the system installed a new kernel or other major system components:
sudo rebootStep 2: Remove Conflicting Docker Packages
If you previously installed Docker from another repository, remove potentially conflicting packages:
for pkg in docker.io docker-doc docker-compose docker-compose-v2 podman-docker containerd runc; do
    sudo apt-get remove $pkg
done
Docker specifically recommends removing conflicting packages before installing Docker Engine from its official repository.
If some packages aren’t installed, that’s fine.
Step 3: Add Docker’s Repository
Install the required packages:
sudo apt-get update
sudo apt-get install ca-certificates curl
Create the keyring directory:
sudo install -m 0755 -d /etc/apt/keyringsDownload Docker’s official signing key:
sudo curl -fsSL https://download.docker.com/linux/raspbian/gpg \
  -o /etc/apt/keyrings/docker.asc
Set the correct permissions:
sudo chmod a+r /etc/apt/keyrings/docker.ascThen add Docker’s repository:
echo \
  "deb [arch=$(dpkg --print-architecture) signed-by=/etc/apt/keyrings/docker.asc] https://download.docker.com/linux/raspbian \
  $(. /etc/os-release && echo "$VERSION_CODENAME") stable" | \
  sudo tee /etc/apt/sources.list.d/docker.list > /dev/null
Update the package index:
sudo apt-get updateThese commands follow Docker’s current Raspberry Pi OS repository installation method.
Step 4: Install Docker Engine
Install Docker Engine, the CLI, containerd, Buildx, and the Docker Compose plugin:
sudo apt-get install docker-ce docker-ce-cli containerd.io docker-buildx-plugin docker-compose-pluginDocker’s current Raspberry Pi OS instructions use this package set.
Check that Docker is running:
sudo systemctl status dockerYou should see that the service is active.
You can also run:
sudo systemctl start dockerif it isn’t running.
Step 5: Test Docker
Run Docker’s test container:
sudo docker run hello-worldDocker will download the hello-world image and create a temporary container.
If you see the Docker welcome message, the installation is working correctly.
Run Docker Without sudo
By default, Docker commands may require sudo.
For example:
sudo docker psYou can add your user to the Docker group:
sudo usermod -aG docker $USERThen log out and log back in.
Alternatively, reboot:
sudo rebootAfter logging back in, test:
docker psImportant security warning
Membership in the docker group effectively provides highly privileged access to the host system.
Don’t treat the Docker group as equivalent to an ordinary unprivileged user.
For a dedicated home server this may be an acceptable trade-off, but it is important to understand the security implications.
Docker Images vs Containers
One of the most important Docker concepts is the difference between an image and a container.
Docker image
An image is the template used to create a container.
For example:
nginx
redis
postgres
jellyfin/jellyfin
Docker container
A container is a running instance created from an image.
For example:
nginx image
      ↓
nginx container
You can create multiple containers from the same image.
Your First Raspberry Pi Docker Container
Let’s run Nginx as a simple example.
docker run -d \
  --name nginx \
  -p 8080:80 \
  nginx
Now check the running containers:
docker psYou should see something similar to:
CONTAINER ID   IMAGE   COMMAND                  STATUS
xxxxxxxxxxxx   nginx   "/docker-entrypoint..."  Up
Find your Raspberry Pi’s IP:
hostname -IThen open:
http://YOUR_PI_IP:8080For example:
http://192.168.1.50:8080You should see the Nginx welcome page.
Understanding the Docker Run Command
Consider:
docker run -d \
  --name nginx \
  -p 8080:80 \
  nginx
Each option has a purpose.
docker run
Creates and starts a new container.
-d
Runs the container in detached mode.
--name nginx
Gives the container a predictable name.
-p 8080:80
Maps:
Raspberry Pi port 8080
        ↓
Container port 80
nginx
Specifies the image.
Essential Docker Commands
These are the commands you’ll use most often.
List running containers
docker psList all containers
docker ps -aStop a container
docker stop nginxStart a stopped container
docker start nginxRestart a container
docker restart nginxRemove a container
docker rm nginxIf it is running:
docker rm -f nginxView logs
docker logs nginxFollow the logs:
docker logs -f nginxInspect a container
docker inspect nginxView downloaded images
docker imagesDownload an image
docker pull nginxRemove an image
docker rmi nginxMake Containers Restart Automatically
For a home server, you usually don’t want to manually restart every application after a reboot.
Docker provides restart policies for this purpose. unless-stopped is particularly useful for many home-server containers because Docker will restart the container after Docker itself restarts, unless you intentionally stopped the container.
For example:
docker run -d \
  --name nginx \
  --restart unless-stopped \
  -p 8080:80 \
  nginx
This is a good default for many always-on services.
Docker Volumes: Protect Your Data
Containers should generally not be treated as the permanent location for important application data.
Instead, use Docker volumes or bind mounts.
For example:
docker volume create app_dataList volumes:
docker volume lsInspect one:
docker volume inspect app_dataA volume allows data to persist independently from the lifecycle of the container.
This distinction is important:
Container
   ↓
Can be deleted/recreated

Volume
   ↓
Persistent application data
For example, if you delete a container but its data is stored in a persistent volume, you can recreate the container and reconnect that volume.
Docker Compose on Raspberry Pi
Running one container with docker run is easy.
Running five or ten interconnected containers becomes much easier with Docker Compose.
Docker Compose lets you define services, networks, volumes, environment variables, and other configuration in a YAML file. Docker describes Compose as a tool for defining and running multi-container applications.
The current Linux installation method is the Docker Compose plugin, which gives you the modern:
docker composecommand. The old docker-compose standalone installation is now considered legacy.
Because we installed:
docker-compose-pluginyou can test it with:
docker compose versionCreate Your First Docker Compose Application
Create a directory:
mkdir ~/docker
cd ~/docker
Create a project directory:
mkdir nginx
cd nginx
Create:
compose.yamlwith:
services:
  nginx:
    image: nginx:latest
    container_name: nginx
    restart: unless-stopped
    ports:
      - "8080:80"
Start it:
docker compose up -dCheck the containers:
docker compose psStop the application:
docker compose downStart it again:
docker compose up -dThis is one of the biggest reasons Docker Compose is useful on a Raspberry Pi: the configuration for an entire application can be kept in one file.
Example: Raspberry Pi Docker Stack
Once you’re comfortable with Docker, you can build a much more useful home server.
For example:
Raspberry Pi 5
│
├── Docker
│
├── Pi-hole
│
├── Jellyfin
│
├── Nextcloud
│
├── Uptime Kuma
│
├── Portainer
│
└── Tailscale
Each application can be independently managed.
Docker and Portainer
If you prefer a graphical interface instead of managing everything from the command line, Portainer is a useful companion to Docker.
Portainer provides a web interface for managing:
- Containers
- Images
- Networks
- Volumes
- Stacks
- Docker environments
This makes it particularly useful for beginners who are learning Docker.
However, understanding the Docker CLI is still worthwhile. Portainer should be viewed as a management interface, not a replacement for understanding how containers work.
Docker Networking on Raspberry Pi
Containers need to communicate with:
- Other containers
- The Raspberry Pi
- Your local network
- The internet
Docker provides several networking modes.
The most common is the default bridge network.
You can list networks with:
docker network lsInspect a network:
docker network inspect bridgeFor Compose applications, Docker automatically creates a project network.
This means containers in the same Compose project can generally communicate using their service names.
For example:
nextcloud
   ↓
database
The Nextcloud container can communicate with the database using the database service name rather than hard-coding an IP address.
Don’t Expose Every Container to the Internet
One of the most common mistakes when building a Raspberry Pi Docker server is exposing every service directly to the internet.
For example, you should think carefully before forwarding ports for:
Nextcloud
Portainer
Docker APIs
Databases
Admin panels
Internal dashboards
A safer architecture is often:
Internet
    ↓
VPN / secure remote access
    ↓
Raspberry Pi
    ↓
Docker
    ├── Nextcloud
    ├── Jellyfin
    ├── Pi-hole
    └── Portainer
Tailscale or WireGuard can be useful for remote access without exposing every service publicly.
Docker and Firewall Considerations
Docker networking has an important security consideration.
Docker’s documentation warns that publishing container ports can bypass rules configured through tools such as UFW or firewalld. Docker recommends understanding its firewall behavior and using the appropriate Docker firewall chains when filtering traffic.
For that reason, don’t assume:
sudo ufw enableautomatically means every Docker-published port is protected in the way you expect.
If you’re building an internet-facing Raspberry Pi server, understand Docker’s networking and firewall behavior before exposing services.
Docker Containers and ARM Compatibility
This is especially important on Raspberry Pi.
Raspberry Pi uses ARM processors, so not every Docker image available on the internet will work.
Before installing an image, check whether it provides an ARM64-compatible image.
For example, an image may support:
linux/amd64
linux/arm64
linux/arm/v7
but another image might only support:
linux/amd64If an image is only available for x86-64, it may not run natively on your Raspberry Pi.
Check your architecture:
uname -mFor modern 64-bit Raspberry Pi systems:
aarch64When evaluating a Docker application, look for ARM64 / arm64 / linux/arm64 support.
How Much RAM Does Docker Need on Raspberry Pi?
Docker itself is relatively lightweight.
The bigger issue is the applications running inside the containers.
A simple stack such as:
Pi-hole
Uptime Kuma
small web server
can run comfortably on relatively modest hardware.
A heavier stack containing:
Nextcloud
PostgreSQL
Jellyfin
Home Assistant
database
monitoring
requires considerably more memory.
For a new Raspberry Pi Docker server, 4GB is a good starting point, while 8GB gives you substantially more room for multiple services.
RAM requirements should ultimately be determined by the applications you intend to run rather than Docker itself.
Raspberry Pi Docker Performance Tips
1. Use Ethernet
For server workloads, Ethernet is generally preferable to Wi-Fi.
This is especially important for:
- NAS applications
- Jellyfin
- Nextcloud
- backups
- databases
- large Docker image downloads
2. Use an SSD
Moving Docker data from microSD to SSD can significantly improve the experience of a busy home server.
This is particularly useful for databases and applications with frequent disk writes.
3. Use 64-bit OS
For modern Docker deployments, use a 64-bit Raspberry Pi OS installation where supported.
It also avoids the future limitations associated with Docker’s 32-bit Raspberry Pi OS package support.
4. Add active cooling
Containers themselves don’t necessarily create high CPU usage.
But applications running inside containers can.
If your Raspberry Pi frequently runs:
- databases
- media processing
- compilation
- AI workloads
- multiple services
proper cooling becomes important.
5. Monitor memory usage
Use:
docker statsThis gives you a live view of container resource consumption.
Example:
CONTAINER     CPU %     MEM USAGE
nextcloud     4.2%      620MiB
jellyfin      2.1%      310MiB
pihole        0.4%      95MiB
This is one of the easiest ways to discover which applications are consuming your Raspberry Pi’s resources.
How to Update a Docker Container
A common Docker misconception is that you update a container by running:
apt updateinside the container.
That’s generally not how you should manage application images.
Instead, pull the newer image and recreate the container.
For a Compose application:
docker compose pull
docker compose up -d
You can remove unused images afterward:
docker image pruneBe careful with aggressive cleanup commands such as:
docker system prunebecause they can remove resources you intended to keep.
Back Up Docker Data
A Docker backup strategy should include more than just the Compose file.
Back up:
- Compose files
- environment files
- Docker volumes
- bind-mounted application data
- databases
- configuration files
- encryption keys or credentials where appropriate
A useful structure might look like:
~/docker/
├── pihole/
│   └── compose.yaml
├── jellyfin/
│   └── compose.yaml
├── nextcloud/
│   └── compose.yaml
└── uptime-kuma/
    └── compose.yaml
But remember that the Compose files alone aren’t enough if the applications store important data in volumes.
Test your backups by actually restoring them.
A backup that has never been restored is not a proven backup.
Common Docker Problems on Raspberry Pi
“no matching manifest”
You may see an error indicating that no compatible image exists.
This often means the image doesn’t provide a build for your ARM architecture.
Check whether the project supports:
linux/arm64Container keeps restarting
Check the logs:
docker logs container-nameThen check its status:
docker ps -aAlso inspect the configuration:
docker inspect container-namePort already in use
If Docker reports that a port is already allocated, check which process is using it.
For example:
sudo ss -tulpn | grep :8080You can also check other containers:
docker psChange the host-side port if necessary:
ports:
  - "8081:80"
Container has no internet access
Check:
docker network lsThen inspect the relevant network:
docker network inspect bridgeDNS configuration can also cause problems.
Raspberry Pi becomes slow
Start with:
docker statsLook for containers consuming excessive:
- CPU
- RAM
- network
- disk I/O
Also check overall system memory:
free -hand CPU/load:
uptimeDocker vs Installing Applications Directly
Which approach should you use?
| Feature | Docker | Direct installation |
|---|---|---|
| Isolation | Excellent | Limited |
| Reinstallation | Easy | Often more involved |
| Multiple versions | Easier | Can conflict |
| Portability | Excellent | Moderate |
| Updates | Image-based | Package/application based |
| Learning curve | Higher initially | Lower for simple apps |
| Multi-service server | Excellent | Can become complicated |
| Resource overhead | Low | Very low |
| Backup | Volumes/configs | Depends on application |
| Best for | Home servers & stacks | Simple dedicated systems |
For a Raspberry Pi that runs one simple service, direct installation may be perfectly reasonable.
For a Raspberry Pi that runs many services, Docker becomes much more attractive.
Docker vs Virtual Machines on Raspberry Pi
Docker containers and virtual machines solve different problems.
A virtual machine generally includes a complete guest operating system.
A Docker container shares the host Linux kernel.
Conceptually:
Virtual Machine

Hardware
   ↓
Host OS
   ↓
Hypervisor
   ↓
Guest OS
   ↓
Application
Docker:
Hardware
   ↓
Raspberry Pi OS
   ↓
Docker Engine
   ↓
Container
   ↓
Application
Containers therefore tend to be a better fit for lightweight self-hosted applications on resource-constrained SBCs.
Best Docker Projects for Raspberry Pi
Once Docker is working, there are many useful projects you can build.
Beginner
- Nginx
- Uptime Kuma
- Pi-hole
- Portainer
Intermediate
- Jellyfin
- Nextcloud
- Home Assistant
- Vaultwarden
- databases
- reverse proxies
Advanced
- Multi-container applications
- Docker Compose stacks
- monitoring with Prometheus/Grafana
- automated backups
- reverse proxy infrastructure
- self-hosted development environments
Docker is one of the technologies that makes an SBC much more useful as a home server.
Is Raspberry Pi Good for Docker?
Yes.
A Raspberry Pi 4 or Raspberry Pi 5 can make an excellent low-power Docker server.
The biggest advantages are:
- Low power consumption
- Small physical size
- Quiet operation
- ARM64 support
- Large Raspberry Pi community
- Extensive Linux support
- Ethernet connectivity
- USB storage
- Large ecosystem of Docker-compatible applications
However, there are limitations.
A Raspberry Pi isn’t a replacement for a high-end server when you need:
- large databases
- heavy virtualization
- intensive video transcoding
- large numbers of containers
- high concurrent workloads
- enterprise-scale storage
For a personal home server, however, the performance-to-power ratio is extremely attractive.
Raspberry Pi Docker Setup I Recommend
For a new home-server project, this is a good starting architecture:
                 Internet
                    │
             Router / Firewall
                    │
                Ethernet
                    │
             Raspberry Pi 5
                    │
             Raspberry Pi OS
                64-bit
                    │
              Docker Engine
                    │
       ┌────────────┼────────────┐
       │            │            │
    Pi-hole      Jellyfin    Nextcloud
       │            │            │
       └────────────┼────────────┘
                    │
              Docker Volumes
                    │
                 SSD/NVMe
Add Portainer if you want a graphical Docker management interface, and use Tailscale or WireGuard for secure remote administration rather than exposing management interfaces directly to the public internet.
Final Thoughts
Docker transforms a Raspberry Pi from a simple Linux computer into a flexible self-hosting platform.
The combination of:
- Raspberry Pi 4/5
- 64-bit Raspberry Pi OS
- Docker
- Docker Compose
- SSD/NVMe storage
- Ethernet
- proper cooling
is enough to build a surprisingly capable home server.
The most important thing is to start small.
Install Docker, run a simple container, learn the basic commands, then move to Docker Compose and eventually build a multi-service home-server stack.
If you’re just getting started with SBCs, our [Beginner Projects guide] is a good next step.
And if your goal is specifically to build a home server, compare the hardware in our [Top 10 Single Board Computers in 2026] guide before buying your board.
Frequently Asked Questions
Can you run Docker on a Raspberry Pi?
Yes. Docker Engine supports Raspberry Pi OS, including ARM64 installations. Docker’s current documentation recommends moving away from 32-bit Raspberry Pi OS because new Docker Engine major releases no longer provide new armhf packages.
Is Raspberry Pi 4 good for Docker?
Yes. Raspberry Pi 4 is capable of running multiple lightweight containers, especially with 4GB or 8GB of RAM and SSD storage.
Is Raspberry Pi 5 better for Docker?
For multi-container workloads, the Raspberry Pi 5 is generally the better choice because of its newer processor and greater overall performance.
How much RAM do I need for Docker on Raspberry Pi?
Docker itself doesn’t require a large amount of RAM. The applications you run determine the real requirement. For a new multi-service home server, 4GB is a good starting point and 8GB provides more headroom.
Should Docker run from an SSD or microSD card?
For a serious Raspberry Pi Docker server, an SSD is preferable. It provides better performance and is generally a better fit for workloads involving databases, logs, and frequent writes.
Can Raspberry Pi run multiple Docker containers?
Yes. The practical limit depends on the Raspberry Pi model, available RAM, storage, CPU workload, and the applications being run.
Can Docker containers access the Raspberry Pi network?
Yes. Docker provides networking functionality that allows containers to communicate with the host, other containers, and external networks.
Can I use Docker Compose on Raspberry Pi?
Yes. Docker provides a Compose plugin for Linux, and the modern command is:
docker composerather than the legacy:
docker-composeIs Docker better than installing software directly?
For a Raspberry Pi running multiple applications, Docker often makes management easier because services are isolated and can be recreated independently. For a single simple application, direct installation can still be perfectly reasonable.
Is Docker safe on Raspberry Pi?
Docker can be used safely, but container security still matters. Be particularly careful when publishing ports to your network or the internet, and understand Docker’s interaction with firewall rules.
Suggested links:
- Install Portainer on Raspberry Pi
- Install Pi-hole on Raspberry Pi
- Install Jellyfin on Raspberry Pi
- Install Nextcloud on Raspberry Pi
- Install Tailscale on Raspberry Pi
- Raspberry Pi VPN Server with WireGuard
- Best Single Board Computers for Home Servers
- Top 10 Single Board Computers in 2026
- Single Board Computer Use Cases