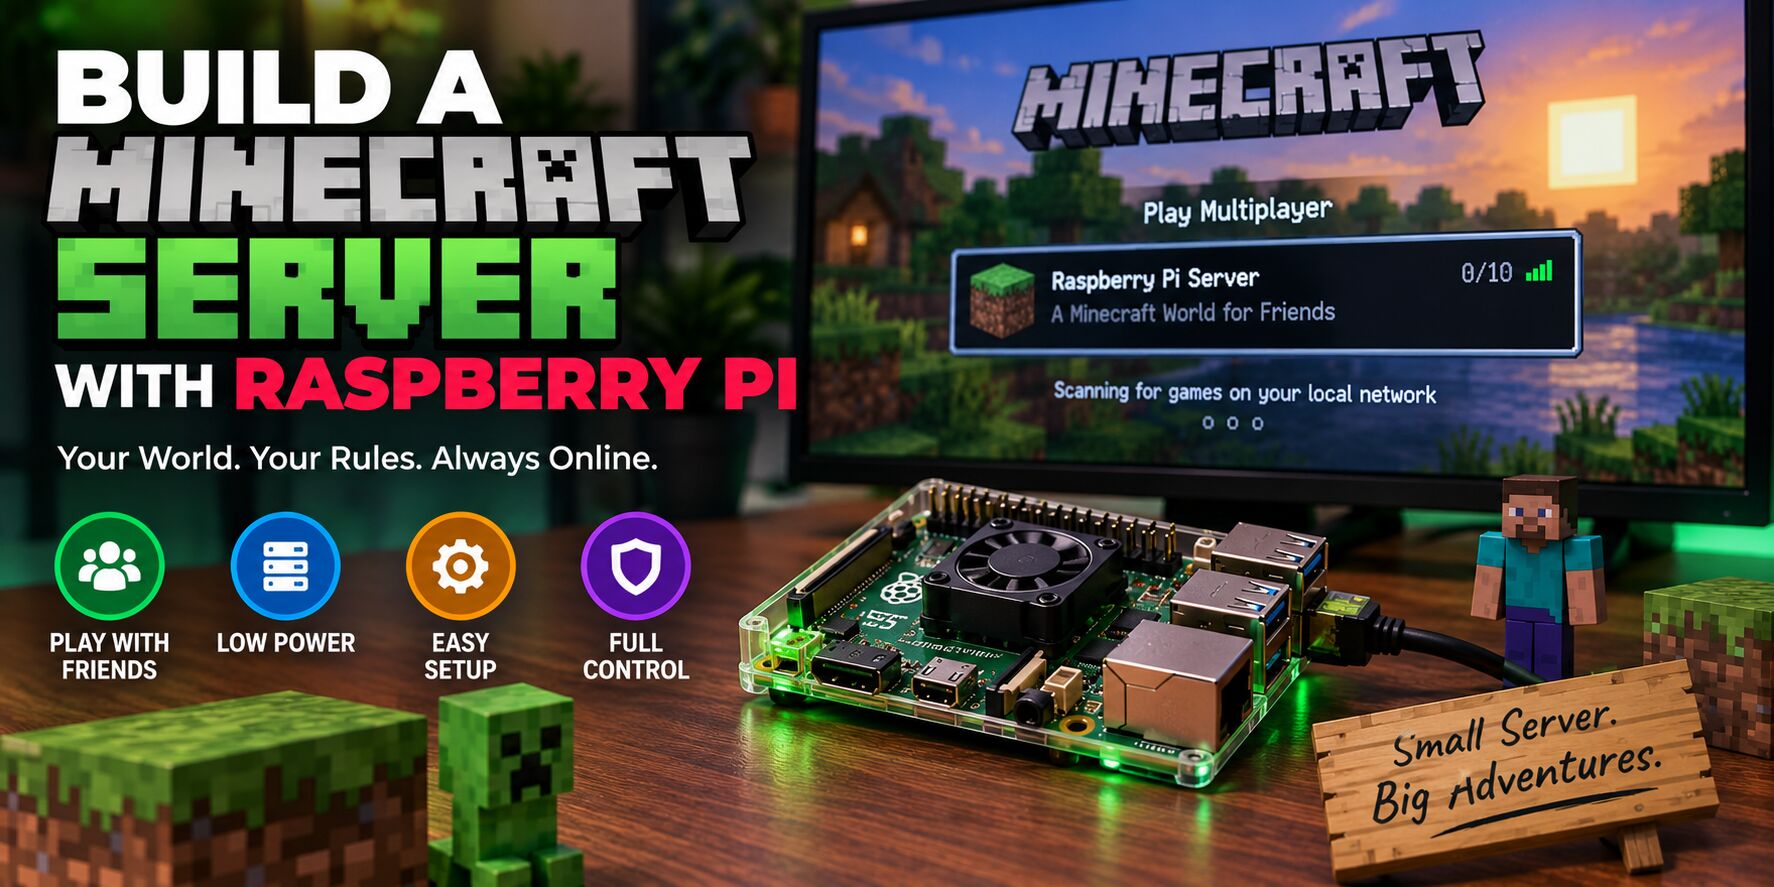
Running your own Minecraft server is a great Raspberry Pi project. Instead of paying for a third-party server, you can use a Raspberry Pi on your home network to host a world for family and friends.
A Raspberry Pi 5 is particularly well suited to the job. With a fast CPU, up to 16GB of RAM, Gigabit Ethernet, and USB 3.0 storage support, it has enough performance for a small private Minecraft server.
In this guide, we’ll show you how to build a Minecraft server with Raspberry Pi, install Java, set up the server, configure memory and networking, create backups, and improve performance.
Important: This guide focuses on Minecraft: Java Edition. The official Minecraft Java server software is separate from the Bedrock dedicated server.
What You’ll Build
The finished setup will look like this:
                    Internet
                       │
                       │
                ┌──────▼──────┐
                │    Router   │
                └──────┬──────┘
                       │
                    Ethernet
                       │
                ┌──────▼──────┐
                │ Raspberry Pi│
                │      5      │
                │             │
                │  Minecraft  │
                │   Server    │
                └─────────────┘
                  │     │     │
                 PC    PC    Laptop
Players connected to your local network can connect directly to the Raspberry Pi.
If you want players outside your home network to connect, you’ll need additional network configuration.
What You Need
Hardware
For a good Raspberry Pi Minecraft server, you’ll need:
- Raspberry Pi 5
- 4GB or more RAM
- Raspberry Pi power supply
- Active cooling
- Ethernet cable
- microSD card or SSD
- Network router
Recommended setup
For most small private servers, I’d use:
Raspberry Pi 5 8GB
256GB SSD
Active cooling
Gigabit Ethernet
The 4GB model can also work well for smaller servers, but 8GB gives you more flexibility if you want to run additional services alongside Minecraft.
Why Use an SSD?
You can run a Minecraft server from a microSD card, but an SSD is a better choice for a server that will run continuously.
Minecraft constantly reads and writes world data.
An SSD provides:
- Faster storage
- Better random I/O
- More capacity
- Better durability for a server workload
- Faster backups
- Faster world transfers
You can connect a USB SSD to the Raspberry Pi or use an NVMe HAT.
For a dedicated server, I’d strongly consider using an SSD rather than making the microSD card your primary server storage.
Raspberry Pi 5 Cooling
Minecraft can put sustained load on the CPU.
For that reason, active cooling is recommended.
You can use:
- Raspberry Pi Active Cooler
- Fan-equipped Raspberry Pi case
- Heatsink and fan
- Other active cooling solutions
A server that runs for hours at a time benefits from keeping temperatures under control.
Which Minecraft Server Should You Use?
You have several options.
Vanilla Minecraft Server
The official Minecraft server is the simplest option.
It provides the standard Minecraft server experience without third-party modifications.
Minecraft provides the Java Edition server software directly from its website.
Best for: A completely standard Minecraft experience.
Paper
Best overall choice for most Raspberry Pi servers
Paper is a Minecraft server implementation designed to improve performance while maintaining compatibility with Bukkit and Spigot plugins.
Paper provides optimized server software and plugin support.
Current Paper releases have moved to Java 25 for Minecraft 26.1 and newer versions.
For a Raspberry Pi server, Paper is an excellent choice when you want better performance and the ability to add plugins.
Fabric
Fabric is another option, particularly if you want to use Minecraft mods.
It’s better suited to players who specifically want a modded Minecraft server.
Vanilla vs Paper vs Fabric
| Server | Best For | Plugins | Mods |
|---|---|---|---|
| Vanilla | Standard Minecraft | No | No |
| Paper | Performance and plugins | Yes | Limited |
| Fabric | Modded Minecraft | No | Yes |
For this guide, we’ll use Paper.
Step 1: Install Raspberry Pi OS
Install Raspberry Pi OS 64-bit on your microSD card or SSD.
Using the 64-bit operating system is important because modern Minecraft server software and Java releases are designed around 64-bit environments.
You can install Raspberry Pi OS using Raspberry Pi Imager.
For a dedicated server, you don’t need a graphical desktop environment.
A minimal installation reduces unnecessary resource usage.
Step 2: Update Raspberry Pi OS
After booting into Raspberry Pi OS, update the system:
sudo apt update
sudo apt full-upgrade -y
Then reboot:
sudo rebootAfter reconnecting, check that the system is working correctly.
Step 3: Check Your Architecture
Run:
uname -mA 64-bit Raspberry Pi OS installation should report:
aarch64This confirms that you’re running a 64-bit ARM operating system.
Step 4: Install Java
Minecraft server versions require a compatible Java runtime.
For current Minecraft 26.1, Java 25 is required.
Paper’s current documentation also lists Java 25 for Minecraft 26.1 and newer versions.
One way to install Java 25 on Debian-based systems is Eclipse Temurin.
Install the required packages:
sudo apt install -y wget apt-transport-https gpgAdd the Eclipse Adoptium signing key:
wget -qO - https://packages.adoptium.net/artifactory/api/gpg/key/public | \
gpg --dearmor | \
sudo tee /etc/apt/trusted.gpg.d/adoptium.gpg > /dev/null
Add the repository:
echo "deb https://packages.adoptium.net/artifactory/deb $(awk -F= '/^VERSION_CODENAME/{print$2}' /etc/os-release) main" | \
sudo tee /etc/apt/sources.list.d/adoptium.list
Update the package list:
sudo apt updateInstall Java 25:
sudo apt install -y temurin-25-jdkEclipse Adoptium currently provides Temurin 25 packages for Debian and Ubuntu systems.
Step 5: Verify Java
Run:
java -versionYou should see Java 25 information.
For example:
openjdk version "25"The exact build information may be different.
If Java reports an older version, make sure the correct Java installation is selected.
Step 6: Create a Minecraft User
It’s a good idea to run your Minecraft server under its own Linux user instead of running it as root.
Create the user:
sudo adduser --system --home /opt/minecraft --group minecraftThen switch to the Minecraft user:
sudo -u minecraft -sYour server will now have its own user account and directory.
Step 7: Create the Server Directory
Create a directory for the server:
sudo mkdir -p /opt/minecraftSet the owner:
sudo chown -R minecraft:minecraft /opt/minecraftThen switch to the Minecraft user:
sudo -u minecraft -sMove into the directory:
cd /opt/minecraftStep 8: Download Paper
Paper provides server JAR downloads through its official website.
Download the appropriate Paper build for the Minecraft version you want to run.
Paper’s current downloads page provides builds for current Minecraft releases.
Rename the downloaded file:
mv paper-*.jar paper.jarYour directory should now contain:
/opt/minecraft/
└── paper.jar
Step 9: Start the Server
Start Paper with:
java -Xms4G -Xmx4G -jar paper.jar --noguiPaper documents this style of startup command and recommends using its startup script generator for more advanced configurations.
The first startup will create several files.
You may see an EULA message.
The server will stop.
That’s expected.
Step 10: Accept the Minecraft EULA
Open:
nano eula.txtChange:
eula=falseto:
eula=trueSave the file.
You must agree to Minecraft’s EULA before running the server.
The official Minecraft server download page notes that using the server software is subject to the Minecraft End User License Agreement.
Step 11: Start Minecraft Again
Run:
java -Xms4G -Xmx4G -jar paper.jar --noguiThe server should now begin generating the world.
You’ll eventually see a message indicating that the server is ready.
Understanding the Memory Settings
This part is important.
The command:
java -Xms4G -Xmx4G -jar paper.jar --noguimeans:
-Xms4Gsets the initial heap size to 4GB.
And:
-Xmx4Gsets the maximum heap size to 4GB.
You shouldn’t automatically allocate all of your Raspberry Pi’s RAM to Minecraft.
The operating system and other services need memory too.
Recommended RAM Allocation
For a Raspberry Pi 5 4GB:
java -Xms2G -Xmx2G -jar paper.jar --noguiFor a Raspberry Pi 5 8GB:
java -Xms4G -Xmx4G -jar paper.jar --noguiFor a Raspberry Pi 5 16GB:
java -Xms6G -Xmx6G -jar paper.jar --noguiThese aren’t hard limits. Your actual allocation should depend on the number of players, world size, plugins and other services running on the Raspberry Pi.
Step 12: Find the Raspberry Pi’s IP Address
Run:
hostname -IYou’ll get something similar to:
192.168.1.50This is the local IP address of your Raspberry Pi.
You’ll use it when connecting from another computer on the same network.
Step 13: Connect to the Minecraft Server
On another computer running Minecraft Java Edition:
- Open Minecraft.
- Select Multiplayer.
- Choose Add Server.
- Enter the Raspberry Pi’s IP address.
- Connect.
For example:
192.168.1.50Make sure the Minecraft client is running the same server-compatible version.
Minecraft’s multiplayer documentation emphasizes that players need matching game editions and compatible versions when connecting to multiplayer games.
Step 14: Configure the Server
Paper creates a:
server.propertiesfile.
Open it:
nano server.propertiesThere are many settings available.
Some of the most useful include:
motd=My Raspberry Pi Minecraft Server
max-players=8
view-distance=8
simulation-distance=6
difficulty=normal
gamemode=survival
pvp=true
online-mode=true
Save the file and restart the server after making changes.
View Distance
One of the most important performance settings is:
view-distanceThis controls how many chunks the server sends to players.
A smaller value reduces the amount of work the server needs to perform.
For a Raspberry Pi, starting around:
view-distance=8is reasonable.
If you’re running a very small server and performance is excellent, you can experiment with higher values.
Simulation Distance
You can also reduce:
simulation-distanceFor example:
simulation-distance=6This limits how far away active game simulation takes place.
Reducing this setting can help a small server handle more activity.
Step 15: Set a Server Message
Change:
motd=My Raspberry Pi Minecraft Serverto something more personal:
motd=Welcome to the Raspberry Pi Survival Server!Players will see this message in their multiplayer server list.
Step 16: Set the Maximum Players
For a small family or friends server:
max-players=8You can increase this if your hardware and configuration can handle it.
Don’t assume that increasing the maximum player count means the Raspberry Pi will automatically handle it.
Player activity, world generation and redstone-heavy areas can have a significant impact on performance.
Step 17: Enable the Whitelist
If the server is intended for friends or family, a whitelist is strongly recommended.
From the Minecraft server console:
whitelist onThen add players:
whitelist add PlayerNameThis prevents unknown players from joining even if they discover your server address.
Step 18: Give Yourself Operator Access
From the server console:
op PlayerNameReplace PlayerName with your Minecraft username.
You’ll then be able to use administrative commands.
For example:
/time set dayor:
/gamemode creative PlayerNameUse operator permissions carefully.
Step 19: Configure the Firewall
If you’re using a firewall such as UFW, allow the Minecraft Java server port:
sudo ufw allow 25565/tcpCheck the firewall:
sudo ufw statusThe default Java Edition server port is 25565. Minecraft’s official server documentation notes that this port may need to be opened when configuring external access.
Step 20: Give the Raspberry Pi a Static IP
This is strongly recommended if you’re hosting the server on your home network.
You don’t want the Raspberry Pi’s IP address changing every time your router renews its DHCP lease.
The easiest approach is usually to create a DHCP reservation in your router.
For example:
Minecraft Server
Raspberry Pi
192.168.1.50
The router will then consistently assign that address to the Raspberry Pi.
Step 21: Allow Internet Connections
If you want friends outside your home to connect, you’ll generally need to configure port forwarding on your router.
Forward:
TCP 25565to the Raspberry Pi’s local IP address.
For example:
Internet
   │
   │ TCP 25565
   ▼
Router
   │
   │ 192.168.1.50:25565
   ▼
Raspberry Pi
Minecraft’s official server documentation confirms that external connections may require network configuration such as port forwarding.
Be Careful With Port Forwarding
Opening a Minecraft server to the public Internet exposes a service from your home network.
Before doing so:
- Keep the server software updated.
- Use a whitelist.
- Don’t run unnecessary services.
- Keep Raspberry Pi OS updated.
- Use strong account security.
- Back up your world.
- Avoid running the server as root.
- Monitor the server logs.
If you only want to play with people in your household, don’t forward the port at all.
An Alternative: Private VPN Access
If your friends don’t need a public server, a private VPN can be a better option.
For example, you could use Tailscale to create a private network between your devices.
This avoids exposing port 25565 directly to the Internet.
The architecture becomes:
Player 1
   │
   │ Tailscale
   │
   ▼
Raspberry Pi
Minecraft Server
   ▲
   │
   │ Tailscale
   │
Player 2
This can be particularly useful for a private group of friends.
Step 22: Create a Startup Script
Instead of typing the Java command every time, create a startup script.
Create:
nano start.shAdd:
#!/bin/bash

java -Xms4G -Xmx4G -jar paper.jar --nogui
Save the file.
Make it executable:
chmod +x start.shNow you can start the server with:
./start.shStep 23: Use a Systemd Service
For a server that should start automatically when the Raspberry Pi boots, systemd is a better solution.
Create:
sudo nano /etc/systemd/system/minecraft.serviceAdd:
[Unit]
Description=Minecraft Server
After=network.target

[Service]
User=minecraft
WorkingDirectory=/opt/minecraft
ExecStart=/usr/bin/java -Xms4G -Xmx4G -jar paper.jar --nogui
Restart=on-failure
RestartSec=10

[Install]
WantedBy=multi-user.target
Save the file.
Reload systemd:
sudo systemctl daemon-reloadEnable the service:
sudo systemctl enable minecraftStart it:
sudo systemctl start minecraftCheck its status:
sudo systemctl status minecraftYour Minecraft server will now start automatically when the Raspberry Pi boots.
Step 24: View the Server Logs
If the server isn’t working correctly, check the logs:
sudo journalctl -u minecraftTo follow the logs in real time:
sudo journalctl -u minecraft -fThis is extremely useful when troubleshooting startup errors.
Step 25: Stop the Server Safely
Don’t simply unplug the Raspberry Pi.
A Minecraft server should be shut down cleanly so that world data can be saved.
If you’re using systemd:
sudo systemctl stop minecraftYou can then verify that the service has stopped:
sudo systemctl status minecraftStep 26: Back Up Your Minecraft World
This is one of the most important steps.
Your world is stored in the server directory.
For example:
/opt/minecraft/worldYou can create a backup using:
sudo tar -czf minecraft-backup.tar.gz /opt/minecraft/worldFor a complete server backup:
sudo tar -czf minecraft-server-backup.tar.gz /opt/minecraftStore backups somewhere other than the Raspberry Pi.
A backup on the same SSD doesn’t help much if the SSD fails.
Automate Backups
A good Minecraft server should have automated backups.
You could create a backup script:
sudo nano /usr/local/bin/minecraft-backup.shExample:
#!/bin/bash

BACKUP_DIR="/home/minecraft-backups"
DATE=$(date +%Y-%m-%d-%H%M)

mkdir -p "$BACKUP_DIR"

tar -czf "$BACKUP_DIR/minecraft-$DATE.tar.gz" /opt/minecraft/world
Make it executable:
sudo chmod +x /usr/local/bin/minecraft-backup.shYou can then schedule it with cron.
For example:
sudo crontab -eAdd:
0 3 * * * /usr/local/bin/minecraft-backup.shThis creates a backup every day at 3 AM.
Step 27: Monitor Raspberry Pi Performance
You can monitor the server using:
htopInstall it if necessary:
sudo apt install htopThen run:
htopWatch:
- CPU usage
- Memory usage
- Load average
- Processes
You can also check the temperature:
vcgencmd measure_tempImprove Minecraft Server Performance
There are several ways to get better performance from a Raspberry Pi Minecraft server.
Use an SSD
This is one of the easiest improvements.
Use Ethernet
Avoid Wi-Fi for a dedicated server whenever possible.
Reduce View Distance
Start around:
view-distance=8and adjust based on performance.
Reduce Simulation Distance
Try:
simulation-distance=6Limit the Player Count
A small private server is much easier to manage than a large public server.
Use Paper
Paper provides performance optimizations and plugin support.
Don’t Allocate All RAM to Minecraft
This is a common mistake.
If you have an 8GB Raspberry Pi, don’t automatically configure:
-Xmx8GThe operating system still needs memory.
Other services may also need RAM.
For example, if your Pi runs:
- Minecraft
- Tailscale
- Docker
- Pi-hole
- Monitoring
- File sharing
you need to leave sufficient memory for everything.
Can Raspberry Pi 5 Handle Multiple Players?
Yes, a Raspberry Pi 5 can host a small Minecraft server, but the practical player count depends heavily on the server configuration.
Factors include:
- Number of players
- World size
- View distance
- Simulation distance
- Plugins
- Mods
- Redstone activity
- Mob farms
- World generation
- Storage performance
A small survival server for a handful of friends is a much more realistic target than a large public server.
Raspberry Pi 5 4GB vs 8GB
| Model | Best Use |
|---|---|
| 4GB | Small Minecraft server |
| 8GB | Minecraft + additional services |
| 16GB | Larger multitasking setup |
For a dedicated small server, 4GB can be sufficient.
If you plan to run several services alongside Minecraft, I’d choose 8GB.
Minecraft Server Storage
For a small server:
128GB SSD is enough.
For a larger world and backups:
256GB SSD is a better choice.
For a server running multiple applications:
500GB or 1TB NVMe SSD provides plenty of room.
The important thing is to remember that world backups can accumulate quickly.
Should You Use NVMe?
NVMe is an excellent option for a Raspberry Pi 5 server.
A Raspberry Pi 5 can use NVMe storage through an appropriate PCIe adapter or NVMe HAT.
Advantages include:
- Fast storage
- Excellent random I/O
- Large capacity
- No reliance on microSD storage
- Convenient for multiple server workloads
However, a USB 3 SSD is also an excellent option and can be simpler to install.
Minecraft Server Security
A public Minecraft server should be treated like any other Internet-facing service.
Keep Raspberry Pi OS updated:
sudo apt update
sudo apt full-upgrade
Keep Paper updated.
Use the whitelist when appropriate.
Don’t give operator privileges to everyone.
Don’t expose unnecessary ports.
Use a strong administrative password for any management software.
Keep backups.
Common Problems
UnsupportedClassVersionError
This usually means the Java version is too old for the Minecraft or Paper version you’re trying to run.
Check:
java -versionFor Minecraft 26.1 and current Paper releases, Java 25 is required.
Server Won’t Start
Check:
java -versionThen:
ls -lhMake sure paper.jar exists.
Check the logs:
sudo journalctl -u minecraft -fPlayers Can’t Connect
Check:
- Raspberry Pi IP address
- Minecraft version
- Firewall
- Server status
- Router port forwarding
- Whether the server is listening on port 25565
You can check listening ports with:
sudo ss -tulpn | grep 25565Server Is Lagging
Try:
- Lowering
view-distance - Lowering
simulation-distance - Moving the server to SSD storage
- Using Ethernet
- Reducing the number of plugins
- Reducing the number of active players
- Improving cooling
Raspberry Pi Is Overheating
Check the temperature:
vcgencmd measure_tempThen verify:
- Fan operation
- Case ventilation
- Heatsink installation
- Ambient temperature
A server running continuously should have adequate active cooling.
Minecraft Java vs Bedrock
This distinction is important.
The official Minecraft Java server software is designed for Minecraft: Java Edition.
Bedrock uses different dedicated server software.
If your friends play Minecraft on consoles, phones or other Bedrock devices, don’t assume they can connect directly to a Java server.
Java and Bedrock are separate server ecosystems.
Can You Run Other Services on the Raspberry Pi?
Yes.
One of the advantages of using a Raspberry Pi is that Minecraft doesn’t have to be the only service running on it.
You could also run:
- Tailscale
- Pi-hole
- Docker
- Portainer
- Samba
- Monitoring tools
- Home Assistant
However, remember that every additional service consumes CPU, RAM and storage.
If Minecraft is the primary purpose of the Raspberry Pi, prioritize its resources accordingly.
Recommended Minecraft Server Setup
For most people, I’d build this:
Hardware
Raspberry Pi 5 8GB
256GB SSD
Active cooling
Gigabit Ethernet
Reliable USB-C power supply
Software
Raspberry Pi OS 64-bit
Java 25
Paper
Configuration
view-distance=8
simulation-distance=6
max-players=8
online-mode=true
Use a whitelist if the server is private.
Final Verdict
Building a Minecraft server with Raspberry Pi is an excellent project if you want a private server for a small group of friends or family.
The Raspberry Pi 5 provides enough performance for a small Minecraft server while consuming considerably less power than a traditional desktop PC.
For the best experience, I’d use:
Raspberry Pi 5 8GB + SSD + active cooling + Ethernet + Paper.
Start with conservative settings such as:
view-distance=8
simulation-distance=6
and adjust them as you learn how your server performs.
The most important improvements aren’t necessarily expensive hardware. SSD storage, active cooling, Ethernet, sensible server settings, and regular backups will make a much bigger difference to a small home server.
Frequently Asked Questions
Can a Raspberry Pi run a Minecraft server?
Yes. Raspberry Pi 5 is capable of hosting a small Minecraft Java Edition server, particularly when configured with an SSD, active cooling and sensible view-distance settings.
Which Raspberry Pi is best for a Minecraft server?
The Raspberry Pi 5 is the best choice for a new build. The 4GB model is suitable for smaller servers, while 8GB is preferable if you want to run additional services.
Do I need an SSD?
No, but an SSD is strongly recommended for a server that will run continuously.
How much RAM should I allocate to Minecraft?
Don’t allocate all of the Raspberry Pi’s RAM to Minecraft. A 4GB Pi might use around 2GB for the server, while an 8GB Pi could allocate around 4GB depending on the workload.
Can my friends connect from outside my home?
Yes. You can configure port forwarding on your router, or use a private VPN such as Tailscale.
What port does Minecraft Java use?
The default Java Edition server port is 25565/TCP.
Is Paper better than the official Minecraft server?
For a small Raspberry Pi server, Paper is often a better choice when you want performance optimizations and plugin support. Vanilla is preferable if you want the standard server experience without modifications.
Can I run Minecraft Bedrock on Raspberry Pi?
The setup is different from Java Edition. The official Minecraft server page provides separate server software for Java and Bedrock, with different platform requirements.
Can I run Minecraft and other services on the same Raspberry Pi?
Yes, particularly with an 8GB model. However, you should monitor RAM and CPU usage and avoid overloading the system.