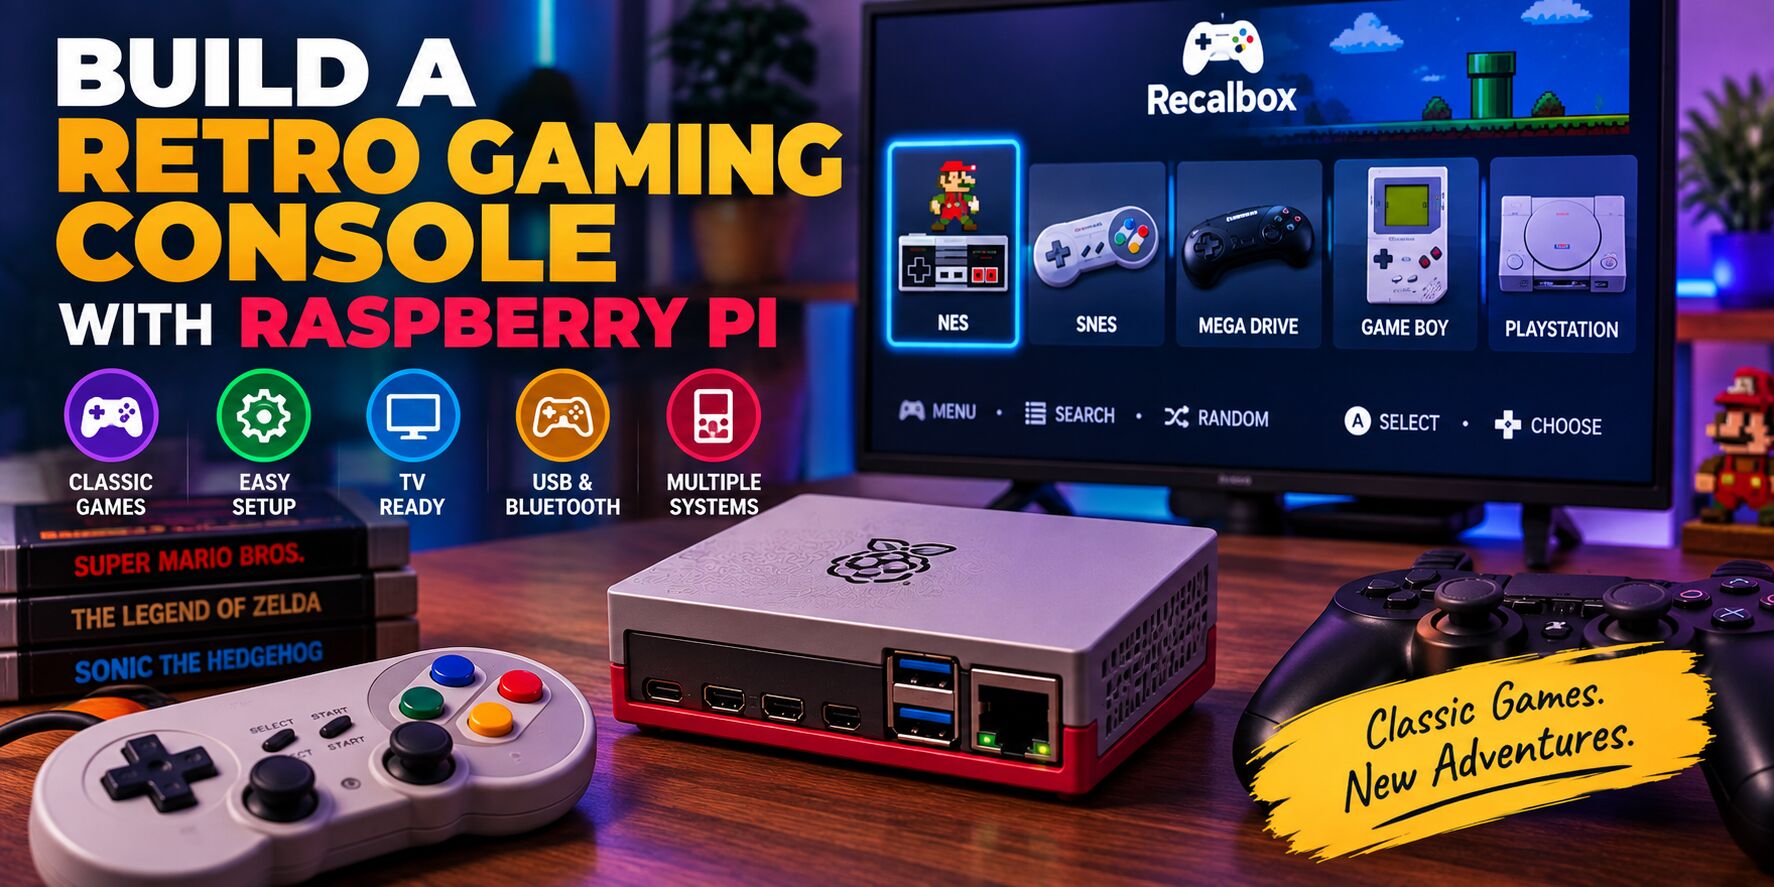
You don’t need to buy an expensive retro gaming console to enjoy classic games. With a Raspberry Pi 5, a microSD card, a couple of controllers, and a retro gaming operating system, you can build a compact console that connects directly to your TV.
The Raspberry Pi 5 is particularly well suited to this project thanks to its fast quad-core processor, VideoCore VII GPU, HDMI connectivity, Bluetooth, Wi-Fi, and USB ports.
In this guide, we’ll show you how to build a Raspberry Pi retro gaming console, including the hardware you need, operating system installation, controller setup, ROM management, storage, cooling, and performance optimization.
What You’ll Build
The finished system will look something like this:
                    ┌──────────────┐
                    │     TV       │
                    │   / Monitor  │
                    └──────┬───────┘
                           │ HDMI
                           │
                    ┌──────▼───────┐
                    │ Raspberry Pi │
                    │      5       │
                    └──┬───────┬───┘
                       │       │
                 Bluetooth    USB
                       │       │
                 ┌─────▼──┐ ┌──▼──────┐
                 │Wireless│ │Controller│
                 │Control │ │          │
                 └────────┘ └──────────┘
The Raspberry Pi runs a dedicated retro gaming operating system, giving you a console-style interface where you can browse and launch your games using a controller.
What You Need
Essential Hardware
You’ll need:
- Raspberry Pi 5
- Raspberry Pi power supply
- MicroSD card
- Micro-HDMI to HDMI cable
- TV or monitor
- USB or Bluetooth controller
- Raspberry Pi cooling
Recommended Hardware
For the best overall experience, I’d use:
- Raspberry Pi 5 4GB
- 64GB or 128GB microSD card
- Active cooling
- Two wireless controllers
- Quality micro-HDMI cable
- Raspberry Pi case with good ventilation
You don’t need an SSD for a basic retro gaming system. A quality microSD card provides plenty of storage for many classic gaming systems.
Which Raspberry Pi Should You Use?
For a new retro gaming build, the Raspberry Pi 5 is the best choice.
Raspberry Pi 5 2GB
Best for a budget build
The 2GB model is more than capable for many classic systems and is a good choice if you’re trying to keep the cost down.
Raspberry Pi 5 4GB
Best overall
This is the model I’d recommend for most people.
It provides plenty of memory without paying for RAM that a dedicated retro gaming system doesn’t really need.
Raspberry Pi 5 8GB
Best for additional projects
The 8GB version isn’t necessary for traditional retro gaming, but it makes sense if you also intend to use the Raspberry Pi for other applications.
Raspberry Pi 5 16GB
Not necessary for this project
A 16GB model provides considerably more memory than a retro gaming console normally needs.
Raspberry Pi 4
Good alternative
A Raspberry Pi 4 can still make an excellent retro gaming console, particularly if you already own one.
However, if you’re buying a Raspberry Pi specifically for this project, I’d choose the Pi 5.
Choose a Retro Gaming Operating System
Several operating systems can transform a Raspberry Pi into a retro gaming console.
The main options include:
- Recalbox
- RetroPie
- Batocera
Each has advantages.
Recalbox
Best for beginners
Recalbox provides a polished console-style interface and makes it relatively easy to install and configure a retro gaming system.
It’s the option we’ll use in this guide.
RetroPie
Best for customization
RetroPie is extremely popular and provides extensive configuration options.
It’s particularly attractive if you enjoy experimenting with emulators and manually configuring your system.
Batocera
Best for an emulation-focused setup
Batocera is another popular option with a console-style interface and extensive emulator support.
Recalbox vs RetroPie vs Batocera
| Feature | Recalbox | RetroPie | Batocera |
|---|---|---|---|
| Beginner friendly | Excellent | Good | Excellent |
| Easy installation | Excellent | Good | Excellent |
| Customization | Very good | Excellent | Excellent |
| Console-style interface | Yes | Yes | Yes |
| Controller setup | Easy | Moderate | Easy |
| Advanced configuration | Good | Excellent | Excellent |
| Best for | Beginners | Advanced users | Emulation-focused builds |
For a first Raspberry Pi retro console, Recalbox is the easiest starting point.
Step 1: Install Raspberry Pi Imager
The easiest way to install Recalbox is using Raspberry Pi Imager.
Download and install Raspberry Pi Imager on your computer.
It works with:
- Windows
- macOS
- Linux
Insert your microSD card into your computer.
Warning: Installing the operating system will erase the contents of the microSD card.
Make sure you’ve backed up anything important before continuing.
Step 2: Select Recalbox
Open Raspberry Pi Imager.
Choose:
Choose OS
Then find the emulation and gaming operating systems.
Select:
Recalbox
Choose the Raspberry Pi 5 version.
Step 3: Select the microSD Card
Click:
Choose Storage
Select your microSD card.
Double-check that you’ve selected the correct device.
Then click:
Write
Raspberry Pi Imager will download Recalbox and install it on the card.
When the process finishes, safely eject the microSD card.
Step 4: Boot the Raspberry Pi
Insert the microSD card into your Raspberry Pi 5.
Connect:
- HDMI
- Controller
- Ethernet or Wi-Fi
- Power supply
Turn on the Raspberry Pi.
After booting, Recalbox should load its gaming interface.
Step 5: Connect the Raspberry Pi to Your TV
Connect the Raspberry Pi 5 to your television using a micro-HDMI cable.
A 1080p television is perfectly adequate for retro gaming.
You don’t need a 4K display specifically for this project.
In fact, older games were originally designed for significantly lower resolutions.
The goal should be a smooth emulation experience, rather than simply maximizing display resolution.
Step 6: Connect Your Controller
You can use either USB or Bluetooth controllers.
USB Controllers
USB controllers are the simplest option.
Connect the controller to one of the Raspberry Pi’s USB ports.
Recalbox should detect it automatically.
For your first build, this is the easiest approach.
Bluetooth Controllers
The Raspberry Pi 5 includes Bluetooth, so compatible wireless controllers can connect without a USB adapter.
Put your controller into pairing mode and use Recalbox’s controller settings to connect it.
Wireless controllers are particularly convenient when the Raspberry Pi is connected to a television in the living room.
Step 7: Configure Your Controller
Recalbox will guide you through the controller configuration.
You’ll typically configure:
D-Pad Up
D-Pad Down
D-Pad Left
D-Pad Right

A
B
X
Y

Start
Select

L
R
L2
R2
Press the corresponding button when prompted.
If your controller doesn’t have a particular button, you can skip it when appropriate.
Step 8: Connect to Your Network
Connect the Raspberry Pi to your home network.
You can use:
- Ethernet
- Wi-Fi
Ethernet is preferable when available because it provides a more reliable connection.
Network access is useful for:
- Transferring games
- Downloading metadata
- Updating the system
- Managing the console remotely
Step 9: Add Your Games
Once Recalbox is configured, you’ll need to add your game files.
Games are organized by platform.
For example:
roms/
├── nes/
├── snes/
├── megadrive/
├── arcade/
├── psx/
├── n64/
└── dreamcast/
The exact directory names can vary depending on the Recalbox version and supported systems.
Use ROMs Legally
Recalbox doesn’t provide commercial games.
You should only use ROM files that you have the legal right to use.
Copyright laws regarding game backups and ROMs vary between countries, so make sure your use complies with the laws applicable to you.
Avoid downloading copyrighted ROM collections from unauthorized websites.
Step 10: Transfer Games Over the Network
Once Recalbox is connected to your network, you can transfer your legally obtained game files from another computer.
On Windows, you can typically access the Recalbox network share through:
\\RECALBOXYou can then navigate to the appropriate ROM directory.
For example:
\\RECALBOX\share\romsCopy the appropriate files into the corresponding system directory.
Step 11: Refresh the Game List
After transferring your games, return to the Recalbox interface.
The games should eventually appear in their respective system menus.
If they don’t appear immediately, refresh the game list or restart Recalbox.
You should eventually see something like:
Nintendo Entertainment System

    Game 1
    Game 2
    Game 3

Super Nintendo

    Game 1
    Game 2
    Game 3

Arcade

    Game 1
    Game 2
Step 12: Add Game Artwork
A large game collection is much easier to navigate when each title has artwork and metadata.
Instead of seeing only filenames, you can have:
- Cover artwork
- Screenshots
- Game descriptions
- Release information
- Genre information
Recalbox includes scraping functionality that can retrieve metadata and artwork for supported games.
This makes the Raspberry Pi feel much more like a commercial retro console.
Step 13: Configure the Display
Open the display settings and choose an appropriate resolution.
For most televisions:
1920 × 1080is a good starting point.
Don’t increase the resolution unnecessarily.
Older games were designed around much lower resolutions, so increasing output resolution doesn’t necessarily improve the original graphics.
Step 14: Configure Audio
The Raspberry Pi sends audio through HDMI.
If the Pi is connected directly to your TV, audio should normally work automatically.
If you don’t hear anything:
- Check the HDMI cable.
- Check your TV volume.
- Check Recalbox’s audio settings.
- Verify the correct output device.
- Restart Recalbox.
Step 15: Configure Game Controls
Different systems use different controller layouts.
For example, an NES controller has a relatively simple layout:
     B   A

SELECT   START
while a modern controller has considerably more buttons.
You can configure the controls so that your controller behaves consistently across different systems.
Step 16: Add a Second Controller
If you want multiplayer gaming, connect another controller.
You can use:
- Two USB controllers
- Two Bluetooth controllers
- One USB controller and one Bluetooth controller
This allows you to play multiplayer games on the same TV.
Step 17: Add a Retro-Style Case
A case can make a huge difference to the appearance of the finished project.
There are cases inspired by:
- NES
- SNES
- PlayStation
- Arcade machines
- Classic home computers
- Mini consoles
Make sure the case provides adequate ventilation.
For a Raspberry Pi 5 gaming system, active cooling is recommended.
Step 18: Choose Your microSD Card
You don’t need an enormous microSD card for a basic retro gaming system.
| Storage | Recommended Use |
|---|---|
| 32GB | Small game collection |
| 64GB | Good starting point |
| 128GB | Large collection |
| 256GB | Very large collection |
| 512GB+ | Specialized builds |
For most users, 64GB or 128GB is an excellent starting point.
Step 19: Use USB Storage
If you have a large game collection, you can use a USB SSD instead of storing everything on the microSD card.
For example:
Raspberry Pi 5
      │
      ├── microSD
      │     └── Recalbox
      │
      └── USB SSD
            └── Game Library
USB storage is particularly useful for larger CD-based game collections.
Do You Need an NVMe SSD?
No.
An NVMe SSD isn’t necessary for a typical retro gaming console.
A microSD card is sufficient for many classic systems.
NVMe becomes more interesting if you:
- Have a very large game collection
- Want faster storage
- Use the Pi for other projects
- Want to boot the entire system from NVMe
If you’re building a dedicated retro console, I’d spend your budget on controllers, cooling and storage capacity before buying an NVMe HAT.
What Systems Can Raspberry Pi 5 Emulate?
The Raspberry Pi 5 is particularly well suited to many classic gaming platforms, including:
- Atari
- NES
- SNES
- Game Boy
- Game Boy Color
- Game Boy Advance
- Sega Master System
- Sega Genesis / Mega Drive
- Neo Geo
- Arcade systems
- PlayStation
- Nintendo 64
- Dreamcast
Performance varies between individual systems and games.
Some demanding games may require additional configuration.
Raspberry Pi 5 and PlayStation
The Raspberry Pi 5 can provide a very good experience with many original PlayStation games.
This makes it a particularly attractive platform for people who want a compact console covering everything from 8-bit systems through the PlayStation era.
Raspberry Pi 5 and Nintendo 64
Nintendo 64 emulation is more demanding.
Some games perform extremely well, while others can require configuration or may not perform perfectly.
The important thing is to test the games you actually want to play rather than assuming that every title will perform identically.
Raspberry Pi 5 and Dreamcast
The Pi 5 is considerably more capable of handling Dreamcast emulation than earlier Raspberry Pi generations.
Many games can be playable, although performance varies between titles.
You may need to experiment with:
- Resolution
- Emulator settings
- Graphics options
- Frame rate
- Audio settings
What About GameCube and PlayStation 2?
This is where you need to set realistic expectations.
The Raspberry Pi 5 is a powerful SBC, but it isn’t a replacement for a modern gaming PC.
Some newer systems can be difficult to emulate reliably.
If your primary goal is:
NES → SNES → Genesis → PS1 → arcade
the Raspberry Pi 5 is an excellent choice.
If your main goal is:
GameCube → Wii → PlayStation 2
a more powerful x86 mini PC may be a better platform. See our comparison list.
Improve Raspberry Pi 5 Gaming Performance
There are several ways to improve performance.
Use Active Cooling
Good cooling prevents thermal throttling during demanding emulation.
Use a Reliable Power Supply
The Raspberry Pi 5 has higher power requirements than earlier Raspberry Pi models.
Use a reliable power supply designed for the Pi 5.
Use a Quality microSD Card
Cheap or unreliable storage can cause crashes, corrupted data and slow loading.
Reduce Resolution
If a demanding game struggles, try lowering the emulator’s rendering resolution.
Experiment With Emulator Settings
Different emulators and settings can produce very different results.
Raspberry Pi 5 RAM: How Much Do You Need?
For a dedicated retro gaming system, RAM isn’t the most important specification.
2GB
A good budget option.
4GB
Best overall choice.
8GB
Useful if the Raspberry Pi will also run other applications.
16GB
Not necessary for a dedicated retro console.
If you’re buying a Pi specifically for this project, the 4GB model is the sweet spot.
Build a Portable Retro Gaming Console
You can take the project further by creating a handheld.
A typical handheld includes:
       ┌─────────────────────┐
       │      DISPLAY        │
       │                     │
       │   Raspberry Pi      │
       │                     │
       │ D-Pad       Buttons │
       │                     │
       └─────────────────────┘
               Battery
You’ll need additional components:
- Display
- Battery
- Charging circuitry
- Buttons
- Joystick
- Speakers
- Custom enclosure
A handheld is considerably more complicated than a TV-based console, so it’s better suited to a second project.
Build a Raspberry Pi Arcade Cabinet
Another option is turning the Pi into a small arcade machine.
You’ll need:
- Raspberry Pi 5
- Display
- Arcade joystick
- Arcade buttons
- USB encoder
- Speakers
- Cabinet
- Power supply
- Cooling
The result can look like a miniature arcade machine:
       ┌─────────────────┐
       │                 │
       │     DISPLAY     │
       │                 │
       ├─────────────────┤
       │  JOYSTICK       │
       │  ● ● ● ● ●      │
       └─────────────────┘
This is a great project if you want something more physical and customized than a standard Raspberry Pi console.
Raspberry Pi Retro Console vs Commercial Retro Console
| Raspberry Pi Console | Commercial Retro Console |
|---|---|
| Highly customizable | Usually fixed |
| Upgradeable | Limited upgrades |
| Choose your operating system | Usually fixed software |
| Choose your controllers | Usually included |
| Can run additional software | Gaming-focused |
| DIY experience | Plug and play |
| Hardware can be reused | Dedicated device |
The biggest advantage of the Raspberry Pi is flexibility.
You’re not limited to the configuration chosen by a manufacturer.
How Much Does a Raspberry Pi Retro Console Cost?
A typical build could include:
| Component | Approximate Cost |
|---|---|
| Raspberry Pi 5 4GB | $60+ |
| Power supply | $10–20 |
| microSD card | $8–20 |
| Case and cooling | $10–30 |
| HDMI cable | $5–10 |
| Two controllers | $20–50 |
| Estimated total | $113–190+ |
Prices vary depending on the retailer, region and hardware you choose.
If you already own a Raspberry Pi, the project can be considerably cheaper.
Recommended Raspberry Pi Retro Gaming Build
For most people, I’d build the console with:
Hardware
Raspberry Pi 5 4GB
64GB or 128GB microSD card
Active cooling
Reliable USB-C power supply
Two Bluetooth controllers
Micro-HDMI cable
Software
Recalbox
Storage
microSD for the operating system and games
This setup keeps the project relatively simple while providing everything you need for a capable retro gaming console.
Troubleshooting
Controller Doesn’t Work
Try:
- Reconnecting the controller.
- Trying another USB port.
- Re-pairing Bluetooth.
- Reconfiguring the controller.
- Restarting Recalbox.
For Bluetooth controllers, also check the controller’s battery.
Games Don’t Appear
Check:
- The ROM format
- The correct ROM directory
- File permissions
- Whether the system is supported
- Whether the game list has been refreshed
Make sure the game hasn’t accidentally been placed in the wrong system directory.
Games Run Slowly
Try:
- Improving cooling
- Lowering the rendering resolution
- Changing emulator
- Adjusting graphics settings
- Disabling unnecessary effects
- Checking CPU temperature
A configuration adjustment can sometimes make a significant difference.
Raspberry Pi Keeps Rebooting
Start by checking the power supply.
The Raspberry Pi 5 requires more power than earlier models.
Also check:
Power supply
USB-C cable
Cooling
microSD card
USB peripherals
A poor-quality power supply or damaged microSD card can cause instability.
Frequently Asked Questions
Can I build a retro gaming console with Raspberry Pi?
Yes. A Raspberry Pi combined with Recalbox, RetroPie or another emulation-focused operating system can become a dedicated retro gaming console.
Is Raspberry Pi 5 good for retro gaming?
Yes. The Raspberry Pi 5 is significantly more powerful than earlier Raspberry Pi models and is an excellent choice for many classic gaming systems.
Which Raspberry Pi should I buy for retro gaming?
The Raspberry Pi 5 4GB is our recommended model because it provides a good balance between performance and cost.
Do I need 8GB RAM for retro gaming?
No. A dedicated retro gaming system doesn’t normally need 8GB of RAM.
Can I use wireless controllers?
Yes. The Raspberry Pi 5 has Bluetooth, allowing compatible wireless controllers to connect without a USB adapter.
Do I need an SSD?
No. A quality microSD card is sufficient for most retro gaming collections. USB or NVMe storage is useful for larger libraries.
Can Raspberry Pi 5 emulate every console?
No. Emulation performance varies considerably between systems and individual games. The Pi 5 is excellent for many classic platforms but isn’t designed to replace a high-end gaming PC.
Is downloading ROMs legal?
Copyright law varies by country. Use games and ROM files that you have the legal right to use and avoid unauthorized ROM distribution.
Can I connect the Raspberry Pi to a 4K TV?
Yes. The Raspberry Pi 5 can output high-resolution video, but you don’t need a 4K television for retro gaming.
Can I build an arcade cabinet with Raspberry Pi?
Yes. The Raspberry Pi 5 can be used as the computer inside a custom arcade cabinet with a display, joystick, buttons and speakers.
Final Verdict
Building a retro gaming console with Raspberry Pi is one of the most enjoyable Raspberry Pi projects for beginners and experienced users alike.
The recommended setup is simple:
Raspberry Pi 5 4GB + Recalbox + 64GB/128GB microSD + active cooling + two wireless controllers.
You don’t need expensive storage or large amounts of RAM to get started.
Once the basic console is working, you can expand the project with:
- Larger storage
- Custom cases
- Arcade controls
- Additional controllers
- NVMe storage
- Portable designs
- Custom themes
The result is a compact gaming system that can bring many classic gaming platforms together in one console.