
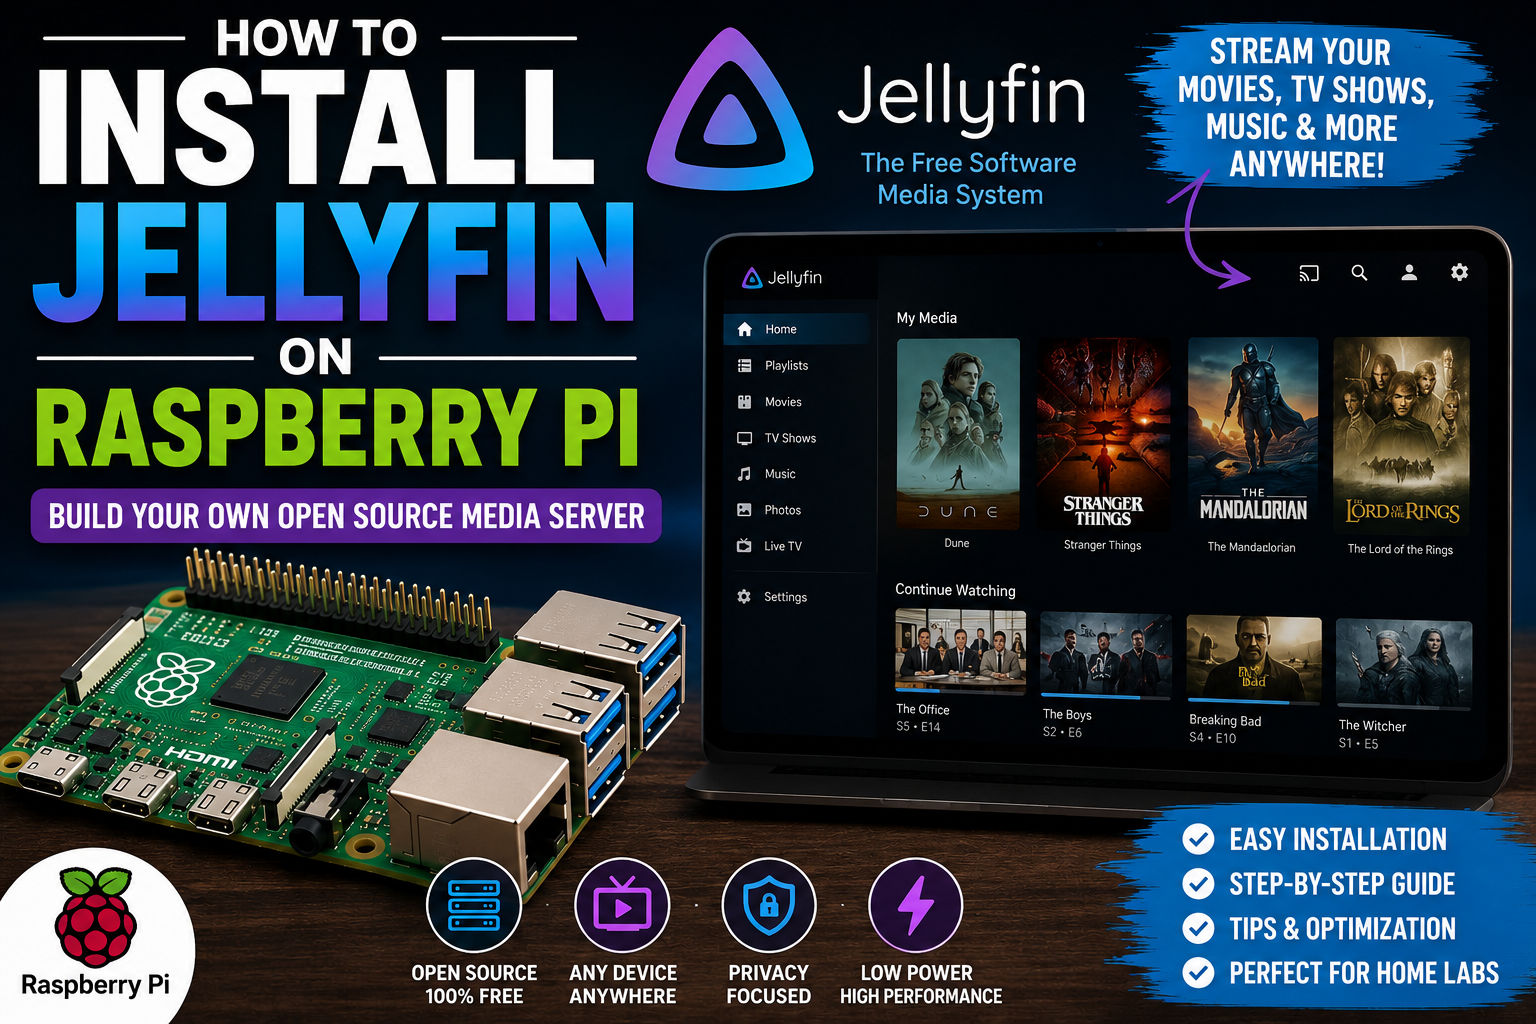
Jellyfin is one of the best open-source solutions for building your own home media server. Instead of relying on a subscription-based streaming service, you can use Jellyfin to organize and stream your own movies, TV shows, music, photos, and other media to computers, phones, smart TVs, streaming devices, and more.
A Raspberry Pi is an attractive platform for Jellyfin because it is small, inexpensive, quiet, and energy efficient. However, there is an important limitation to understand: current Jellyfin documentation says Raspberry Pi hardware-acceleration support through V4L2 is deprecated, and the Raspberry Pi 5 lacks hardware video encoders. For that reason, a Raspberry Pi Jellyfin server works best when most clients can Direct Play your media instead of requiring the server to transcode it.
In this guide, you’ll learn how to install Jellyfin on Raspberry Pi OS, add your media library, configure users and networking, and optimize the server for reliable streaming.
What Is Jellyfin?
Jellyfin is a free and open-source media server that lets you organize and stream your personal media collection.
You can use it for:
- Movies
- TV shows
- Music
- Photos
- Home videos
- Audiobooks
- Other supported media
The Jellyfin server runs on your Raspberry Pi while your phones, computers, televisions, and other devices act as clients.
A typical setup looks like this:
                 Home Network
                      │
               ┌──────┴──────┐
               │   Router    │
               └──────┬──────┘
                      │
              ┌───────▼────────┐
              │  Raspberry Pi  │
              │    Jellyfin    │
              └───────┬────────┘
                      │
              ┌───────▼────────┐
              │ Media Storage  │
              │ SSD / HDD / NAS│
              └────────────────┘
                      │
          ┌───────────┼───────────┐
          │           │           │
        Smart TV    Phone       Laptop
Jellyfin’s official documentation describes the server as the central hub for serving your personal media collection to different devices.
Why Install Jellyfin on a Raspberry Pi?
The Raspberry Pi is a good choice when you want a low-power media server that doesn’t need to be a full desktop computer.
Advantages
- Low power consumption
- Small footprint
- Quiet operation
- Gigabit Ethernet
- USB 3 storage support
- Large community
- Linux support
- Can run additional home-server applications
A Raspberry Pi 5 is especially attractive when you want to combine Jellyfin with other lightweight services.
However, hardware transcoding is the key limitation to understand before choosing a Raspberry Pi.
Can Raspberry Pi Run Jellyfin?
Yes.
Jellyfin officially supports installation on Raspberry Pi OS through its Debian/Ubuntu installation process. The official installation script explicitly supports Raspbian/Raspberry Pi OS.
The more important question is:
Can a Raspberry Pi handle your particular media library?
The answer depends heavily on whether your clients can Direct Play your files.
Direct Play vs Transcoding
Understanding these two terms is essential.
Direct Play
With Direct Play, the Raspberry Pi simply sends the original media file to the client.
For example:
Movie.mkv
    │
    ▼
Jellyfin
    │
    ▼
Smart TV
The Raspberry Pi doesn’t have to convert the video.
This is the ideal scenario.
Transcoding
Transcoding occurs when Jellyfin needs to convert the media into a format the client can handle.
For example:
4K HEVC
   │
   ▼
Jellyfin
   │
   ▼
1080p H.264
   │
   ▼
TV
This requires considerably more processing power.
It can become particularly demanding when you combine:
- 4K video
- HDR
- Multiple simultaneous users
- Subtitle burn-in
- Codec conversion
- Resolution conversion
Important Raspberry Pi Hardware-Acceleration Limitation
This is particularly important for a 2026 Jellyfin guide.
Jellyfin’s current documentation says that Raspberry Pi hardware acceleration through V4L2 is being deprecated because the implementation did not reach the maturity of other acceleration methods. The documentation also notes that the Raspberry Pi 5 lacks hardware video encoders.
Therefore, you shouldn’t build a Raspberry Pi 5 Jellyfin server around the assumption that it will provide GPU-assisted video transcoding.
Instead, aim for:
- Direct Play
- Compatible media formats
- Wired Ethernet
- Good storage
- A capable client device
If transcoding is a major requirement, an Intel-based mini PC or another platform with supported hardware acceleration may be a better choice.
Recommended Raspberry Pi Hardware
For a new Jellyfin server, I’d recommend:
| Component | Recommendation |
|---|---|
| Raspberry Pi | Raspberry Pi 5 |
| RAM | 4GB or 8GB |
| Storage | SSD |
| Network | Gigabit Ethernet |
| OS | Raspberry Pi OS 64-bit |
| Media storage | USB 3 SSD/HDD or NAS |
| Power | Official/reliable PSU |
| Cooling | Active cooling recommended |
You don’t need an 8GB Raspberry Pi just to run Jellyfin.
For a dedicated media server, 4GB is generally plenty when the server is primarily Direct Playing media.
Why Use an SSD?
You can install Jellyfin on a microSD card, but an SSD is a better choice for a server.
An SSD provides:
- Faster library scanning
- Faster metadata access
- Better responsiveness
- Better performance for multiple applications
- Greater flexibility for a home server
A useful configuration is:
Raspberry Pi 5
      │
      ├── SSD → OS + Jellyfin
      │
      └── HDD/SSD → Media
You can also store the media on a NAS and use the Raspberry Pi only for Jellyfin.
Step 1: Install Raspberry Pi OS
Start with a clean Raspberry Pi OS installation.
For a dedicated server, Raspberry Pi OS Lite 64-bit is a good option because you don’t need a graphical desktop.
Using Raspberry Pi Imager, configure:
- Hostname
- Username
- Password
- SSH
- Network settings
Connect the Raspberry Pi to your network using Ethernet if possible.
Step 2: Connect to Your Raspberry Pi
Find the Raspberry Pi’s IP address from your router or run:
hostname -IFor example:
192.168.1.50Connect through SSH:
ssh [email protected]Replace the username and IP address with your own.
Step 3: Update Raspberry Pi OS
Before installing Jellyfin, update the operating system:
sudo apt update
sudo apt full-upgrade -y
Then reboot:
sudo rebootReconnect through SSH after the Raspberry Pi restarts.
Step 4: Give the Raspberry Pi a Stable IP
Your Jellyfin server should have a predictable IP address.
For example:
Raspberry Pi
192.168.1.50
The easiest option for many home networks is to create a DHCP reservation in your router.
This means the router always gives the Raspberry Pi the same IP address.
A stable IP makes accessing Jellyfin from TVs and other devices much easier.
Step 5: Install Jellyfin
Jellyfin provides an official installation script for Debian, Ubuntu, and derivatives, and the documentation specifically states that the script supports Raspberry Pi OS.
Download and verify the installer:
curl -s https://repo.jellyfin.org/install-debuntu.sh -O
curl -s https://repo.jellyfin.org/install-debuntu.sh.sha256sum -O
sha256sum -c install-debuntu.sh.sha256sum
You should see:
install-debuntu.sh: OKYou can inspect the script before running it:
less install-debuntu.shThen execute it:
sudo bash install-debuntu.shThese commands follow Jellyfin’s current Linux installation documentation.
Step 6: Open the Jellyfin Web Interface
Once installation finishes, open a browser on another computer.
Go to:
http://YOUR-RASPBERRY-PI-IP:8096For example:
http://192.168.1.50:8096Port 8096 is the standard HTTP port used by the Jellyfin server.
You should see the Jellyfin setup wizard.
Step 7: Create Your Administrator Account
The setup wizard will ask you to create an administrator account.
Choose:
- Username
- Strong password
Don’t use the same password as your Raspberry Pi user account.
This account controls your Jellyfin server.
Step 8: Choose Your Language
Select your preferred language and metadata region.
This determines how Jellyfin retrieves metadata for your media.
You can configure metadata language settings globally and adjust them for individual libraries later.
Step 9: Add Your Media Library
Now you’ll create your first library.
Click:
Add Media Library
Choose the type:
- Movies
- Shows
- Music
- Photos
- Other
Then select the folder containing your media.
For example:
/media/moviesor:
/media/tvA recommended structure is:
/media
├── movies
│   ├── Movie 1
│   └── Movie 2
│
├── tv
│   ├── Show 1
│   └── Show 2
│
└── music
    ├── Artist 1
    └── Artist 2
Organized folders make media management considerably easier.
Step 10: Mount Your Media Drive
If your media is stored on a USB drive, identify the drive:
lsblkYou might see:
sda
└── sda1
Create a mount point:
sudo mkdir -p /mediaThen configure the drive to mount automatically.
For a production server, use the drive’s UUID in /etc/fstab rather than relying on /dev/sda1, because device names can change.
You can find the UUID with:
sudo blkidStep 11: Configure Jellyfin Permissions
Jellyfin needs permission to read your media.
Check the ownership:
ls -la /mediaIf Jellyfin can’t see your files, permissions are one of the first things to investigate.
You can check which user Jellyfin runs as with:
systemctl status jellyfinAvoid making your entire media directory world-writable just to solve a permissions problem.
Instead, configure ownership and group permissions properly.
Step 12: Let Jellyfin Scan Your Library
Once you’ve added your media folders, Jellyfin will scan them.
Depending on the size of your collection, this may take several minutes or longer.
Jellyfin will retrieve metadata such as:
- Posters
- Descriptions
- Cast information
- Genres
- Release information
Your media should then appear in the Jellyfin dashboard.
Step 13: Test Playback
Start with a video that your client supports natively.
Check the playback information in Jellyfin.
You ideally want to see:
Direct Playrather than:
TranscodingDirect Play places much less demand on the Raspberry Pi.
How to Optimize Jellyfin for Raspberry Pi
Because Raspberry Pi hardware transcoding has important limitations, optimization should focus on reducing the need for transcoding.
1. Use Compatible Video Formats
Modern clients generally handle formats such as:
- H.264
- H.265/HEVC
- AAC
- AC3
But support varies between TVs, browsers, phones, and streaming devices.
Before building a huge media library, test the formats your clients support.
2. Prefer Direct Play
If your TV supports the media format, let Jellyfin send the original file.
This is much easier for a Raspberry Pi than converting the video.
3. Use Ethernet
Connect your Raspberry Pi using Gigabit Ethernet.
This is especially important for:
- 4K video
- Multiple streams
- Large media files
Wi-Fi can work, but wired Ethernet provides a much more predictable connection.
What About 4K Video?
A Raspberry Pi can serve 4K media when the client can Direct Play it.
That’s very different from saying that it can efficiently transcode 4K video.
For example:
Good scenario
4K HEVC
   │
   ▼
Jellyfin
   │
   ▼
4K-capable TV
   │
 Direct Play
Difficult scenario
4K HEVC HDR
      │
      ▼
Jellyfin
      │
Transcode
      ▼
1080p H.264
      │
      ▼
Remote client
The second scenario puts considerably more load on the server.
Can Raspberry Pi 5 Transcode Jellyfin?
This deserves a clear answer.
You should not buy a Raspberry Pi 5 specifically for hardware-accelerated Jellyfin transcoding.
Jellyfin’s current documentation states that the Raspberry Pi 5 lacks hardware encoders and that Raspberry Pi V4L2 hardware-acceleration support is deprecated.
The Pi can still be an excellent Jellyfin Direct Play server, but it is not the ideal platform if your primary requirement is multiple simultaneous hardware-assisted transcodes.
How Many Users Can Raspberry Pi Handle?
There isn’t a single number.
It depends on whether streams are:
- Direct Playing
- Remuxing
- Transcoding
A Raspberry Pi can handle significantly more Direct Play streams than transcoding workloads.
Your network, storage, codecs, subtitles, resolutions, and client devices all affect performance.
For a family media server where most devices Direct Play, the Raspberry Pi can be a practical solution.
For a large household with several users requiring transcoding, consider a more powerful server.
Subtitles and Transcoding
Subtitles deserve special attention.
Some subtitle formats can be displayed directly by the client.
Others may require Jellyfin to burn the subtitles into the video stream.
That can trigger transcoding.
Therefore, if you experience unexpected transcoding, check:
- Video codec
- Audio codec
- Subtitle format
- Client capabilities
- Resolution
- Bitrate
Install Jellyfin with Docker
If you’re already using CasaOS, Docker is another excellent way to install Jellyfin.
Jellyfin provides an official container image:
jellyfin/jellyfinand also publishes it through GitHub Container Registry. The official image supports multiple architectures.
A basic Docker Compose configuration looks like:
services:
  jellyfin:
    image: jellyfin/jellyfin
    container_name: jellyfin
    ports:
      - "8096:8096"
      - "7359:7359/udp"
    volumes:
      - ./config:/config
      - ./cache:/cache
      - /media:/media
    restart: unless-stopped
Then start it:
docker compose up -dThe official Jellyfin container documentation uses port 8096 for the web interface and 7359/UDP for discovery. Host networking is optional but is required if you want DLNA functionality.
Jellyfin on CasaOS
If you have already installed CasaOS on your Raspberry Pi, Jellyfin fits naturally into that environment.
Your architecture could look like:
Raspberry Pi 5
       │
     CasaOS
       │
 ┌─────┼───────────┐
 │     │           │
Jellyfin Pi-hole  Other Apps
 │
 └── Media Storage
This allows you to use the same Raspberry Pi for multiple home-server services.
See our guide:
Install CasaOS on Raspberry Pi
and our comparison:
CasaOS vs OpenMediaVault
for more information about building a Raspberry Pi home server.
Jellyfin vs Plex
If you’re deciding between Jellyfin and Plex, the biggest advantage of Jellyfin is that it is open source and designed around self-hosting.
| Feature | Jellyfin | Plex |
|---|---|---|
| Open source | Yes | No |
| Self-hosted | Yes | Yes |
| Personal media | Excellent | Excellent |
| Raspberry Pi | Yes | Yes |
| Docker | Yes | Yes |
| Direct Play | Yes | Yes |
| Hardware transcoding | Hardware dependent | Hardware dependent |
| Subscription required | No | Some features may require Plex Pass |
| Privacy-focused | Excellent | Good |
For users who want maximum control over their own media server, Jellyfin is particularly attractive.
Remote Access to Jellyfin
By default, your Jellyfin server is intended for your local network.
If you want to access it from outside your home, you need to configure remote access carefully.
Possible approaches include:
- Reverse proxy
- VPN
- Tailscale
- Cloudflare Tunnel
- Carefully configured port forwarding
For beginners, a VPN-based approach can be easier to secure.
Jellyfin’s setup wizard includes remote-access configuration and recommends considering remote access and hardware acceleration as follow-up configuration steps. It also recommends disabling automatic port mapping unless specifically required because it relies on UPnP.
Should You Expose Port 8096 Directly?
I wouldn’t recommend simply forwarding port 8096 from your router to Jellyfin without considering security.
If you need public access, consider using:
- HTTPS
- Reverse proxy
- Authentication
- Firewall rules
- VPN or secure tunnel
Never assume that because Jellyfin is running on a Raspberry Pi, the service doesn’t need to be secured.
Back Up Your Jellyfin Server
Your media files are not the only data worth backing up.
You should also consider backing up:
- Jellyfin configuration
- Database
- Metadata
- User accounts
- Play history
- Server settings
Jellyfin’s documentation includes dedicated backup and restore guidance as part of its administration documentation.
A simple backup structure could be:
Backup
├── Jellyfin config
├── Jellyfin database
└── Important media
Remember:
RAID is not a backup.
If your media is stored on multiple drives, you should still maintain an independent backup of important files.
Common Jellyfin Problems on Raspberry Pi
Jellyfin can’t see my media
Check the folder path and permissions.
ls -la /mediaThen check the Jellyfin service:
sudo systemctl status jellyfinVideo keeps buffering
Check:
- Wi-Fi signal
- Ethernet connection
- Media bitrate
- Client capabilities
- Whether Jellyfin is transcoding
If Jellyfin is transcoding, try a file the client can Direct Play.
CPU usage is very high
Open the Jellyfin dashboard and determine whether the stream is being transcoded.
You can also check Raspberry Pi CPU usage:
topor:
htopIf a video is being transcoded, this may explain the high CPU usage.
Subtitles cause buffering
Try disabling subtitles temporarily.
If playback improves, the subtitle format may be forcing a transcode or burn-in operation.
Jellyfin doesn’t start
Check:
sudo systemctl status jellyfinThen inspect the logs:
sudo journalctl -u jellyfinUseful Jellyfin Commands
Check the service:
sudo systemctl status jellyfinRestart Jellyfin:
sudo systemctl restart jellyfinStop Jellyfin:
sudo systemctl stop jellyfinStart Jellyfin:
sudo systemctl start jellyfinEnable Jellyfin at boot:
sudo systemctl enable jellyfinView recent logs:
sudo journalctl -u jellyfin -n 100Raspberry Pi Jellyfin Performance Tips
For the best experience:
Use an SSD
Keep the operating system, Jellyfin configuration, and cache on fast storage.
Use Ethernet
Avoid relying on Wi-Fi for the server when possible.
Prefer Direct Play
This is the most important optimization.
Choose compatible media
Use formats supported by your primary playback devices.
Avoid unnecessary transcoding
A Raspberry Pi is much better suited to serving files than performing heavy video conversion.
Keep Jellyfin updated
Use the official Jellyfin packages or official container images and follow current release guidance.
Is Raspberry Pi Good for Jellyfin?
Yes, with the right expectations.
A Raspberry Pi is an excellent low-power Jellyfin server when:
- You have a small or medium media collection.
- Your clients support Direct Play.
- You use Ethernet.
- Your media is stored on reliable storage.
- You don’t need frequent transcoding.
It’s less suitable when you need:
- Multiple simultaneous 4K transcodes
- Heavy subtitle burn-in
- Extensive HDR tone mapping
- Several remote users with incompatible clients
Jellyfin’s hardware-acceleration documentation makes the current Raspberry Pi limitations particularly important when selecting hardware for a new media server.
Raspberry Pi 5 vs Mini PC for Jellyfin
If Jellyfin is your primary reason for building a home server, a small x86 mini PC can sometimes be a better investment.
For example, a modern Intel-based mini PC can provide integrated graphics with supported hardware acceleration, while the Raspberry Pi 5 does not have a hardware video encoder.
Choose Raspberry Pi if:
- Low power consumption matters
- You want an SBC
- Most streams will Direct Play
- You already own a Raspberry Pi
- You want to run additional lightweight services
Choose a mini PC if:
- You need frequent transcoding
- You have multiple simultaneous users
- You need 4K transcoding
- You want more x86 software compatibility
- Media serving is the primary purpose
Frequently Asked Questions
Can I install Jellyfin on Raspberry Pi?
Yes. Jellyfin’s official Debian/Ubuntu installation script supports Raspberry Pi OS.
Is Raspberry Pi 5 good for Jellyfin?
Yes, particularly for Direct Play. It is less suitable for workloads that depend heavily on transcoding because the Raspberry Pi 5 lacks hardware video encoders.
Does Jellyfin work with Raspberry Pi 4?
Yes. Raspberry Pi OS is supported, and Jellyfin can be installed using its official Linux installation process.
Can Raspberry Pi transcode 4K Jellyfin videos?
You should not rely on Raspberry Pi 5 hardware transcoding. Jellyfin’s current documentation says Raspberry Pi V4L2 acceleration is deprecated and the Pi 5 lacks hardware encoders.
Can Jellyfin run from a microSD card?
Yes, but an SSD is preferable for a server that will operate continuously.
Can I use an external hard drive?
Yes. A USB-connected SSD or HDD is a practical way to store your media.
Can I run Jellyfin with CasaOS?
Yes. Jellyfin provides an official Docker image, making it suitable for Docker-based home-server platforms such as CasaOS.
What port does Jellyfin use?
The standard HTTP port is 8096. The official Docker documentation also uses UDP 7359 for discovery.
Final Thoughts
Installing Jellyfin on a Raspberry Pi is an excellent project if you want to build an inexpensive, low-power home media server.
The installation is straightforward, and Jellyfin’s official Linux installer supports Raspberry Pi OS.
The most important consideration isn’t installation—it’s transcoding.
A Raspberry Pi 5 can be an excellent Jellyfin server when your devices can Direct Play your media. But if you expect the server to perform frequent 4K transcoding for several users, a platform with supported hardware video acceleration is a better choice.
For a typical home setup, pair a Raspberry Pi with an SSD, Gigabit Ethernet, well-organized media, and compatible playback devices. You can then expand the same Raspberry Pi into a broader home server with services such as CasaOS, Pi-hole, Home Assistant, Nextcloud, and other Docker applications.
Recommended Internal Links
This article fits particularly well into your existing Home Server cluster:
- Best Single Board Computers for Home Servers
- How to Build a Home Server with a Single Board Computer
- Install CasaOS on Raspberry Pi
- CasaOS vs OpenMediaVault
- Install Pi-hole on Raspberry Pi
- Best SBC for Home Assistant
- Best Operating Systems for Single Board Computers
- How to Install Linux on a Single Board Computer
- Common Single Board Computer Problems and How to Fix Them